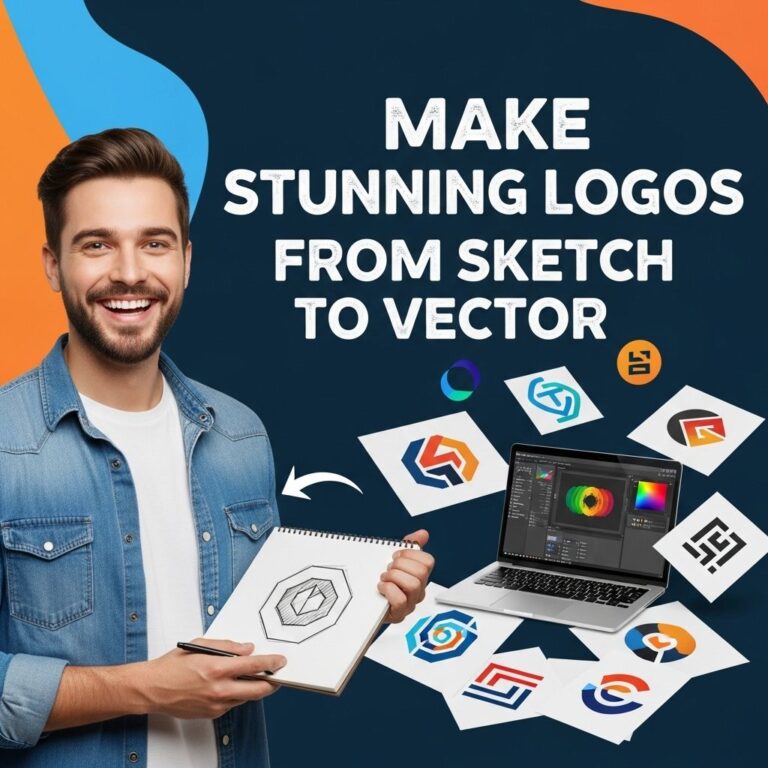
In the world of digital design, transforming sketches into vector graphics can unleash incredible potential for artists and designers. This transformation allows for scalability without losing quality, making it essential for creating logos, illustrations, and more. Let’s dive into the process and techniques involved in converting your sketches into polished vector art.
Transforming your sketch into a vector graphic can elevate your design projects to new heights. This step-by-step guide will walk you through the process, ensuring your artwork maintains its integrity while becoming scalable and versatile. For additional inspiration, access unique design templates to enhance your creative journey.
Table of Contents
Why Choose Vector Graphics?
Vector graphics are created using mathematical equations, allowing them to be scaled infinitely without losing clarity. This makes them ideal for various applications, from printed materials to digital displays. Here are some of the main advantages of vector graphics:
- Scalability: Resizing vector images does not affect quality.
- Smaller File Size: Compared to raster images, vector files tend to be smaller.
- Editability: Individual elements can be easily modified.
- Print-Ready: Vector graphics are suitable for high-quality printing.
Tools for Vectorization
Several tools can help you turn your sketches into vector graphics. Each software has its strengths and learning curves. Here’s a list of some popular options:
| Software | Platform | Best For |
|---|---|---|
| Adobe Illustrator | Windows, macOS | Professional designers |
| CorelDRAW | Windows, macOS | Versatile design projects |
| Inkscape | Windows, macOS, Linux | Free alternative |
| Affinity Designer | Windows, macOS, iPad | Affordable solution |
| Vector Magic | Web-based | Quick conversions |
Step-by-Step Guide to Vectorizing Your Sketch
1. Prepare Your Sketch
Start with a clean and clear sketch. If your sketch is on paper, scan it with high resolution (300 DPI is recommended). Make sure there are clear contrasts between the sketch lines and the background.
2. Choose Your Software
Select one of the vector graphics tools mentioned earlier based on your preferences and project requirements.
3. Import Your Sketch
Once you have your software open, import your scanned sketch:
- In Adobe Illustrator, you can do this by going to File > Place.
- For Inkscape, use File > Import.
4. Trace the Sketch
Now, it’s time to trace your sketch. There are two primary methods to do this:
- Manual Tracing: Use the Pen Tool or Pencil Tool to create paths over your sketch. This method gives you full control over the curves and lines.
- Automatic Tracing: Many vector software programs have an auto-trace feature. In Illustrator, you can find this under Object > Image Trace. Adjust the settings to optimize the trace.
5. Refine Your Vector Image
After tracing, you’ll want to refine your vector image:
- Use the Direct Selection Tool to adjust anchor points and curves.
- Create layers for different elements to keep your design organized.
- Apply colors and gradients to enhance your design.
6. Add Final Touches
Once you are satisfied with your vector art, it’s time to add final touches:
- Consider adding textures or patterns for a unique touch.
- Ensure that all paths are closed for clean exports.
- Check for any overlapping elements and resolve them for clarity.
7. Export Your Vector Art
When your artwork is complete, export it in the desired vector format:
- For Adobe Illustrator, use File > Export > Export As and choose formats like .SVG or .PDF.
- In Inkscape, select File > Save As and choose .SVG.
Common Challenges and Solutions
Here are some challenges you may encounter during the vectorization process and tips to overcome them:
- Poor Quality Scans: Ensure your scanner settings are optimized for clarity.
- Complex Sketch Details: Break down intricate designs into simpler shapes during the tracing process.
- Color Matching: Use color palettes to maintain consistency in your artwork.
Additional Resources for Learning
If you’re looking to enhance your skills further, consider exploring these resources:
- Online Courses: Platforms like Udemy and Skillshare offer courses on vector design.
- YouTube Tutorials: Search for specific techniques in your software of choice.
- Books: Look for design books focusing on vector graphics and digital illustration.
Conclusion
Transforming your sketches into vector graphics is an invaluable skill for any digital artist or designer. With the right tools and techniques, you can take your artwork to the next level, ensuring it is both high quality and versatile for various applications. Dive into the world of vector graphics and watch your creativity flourish!
FAQ
What is vectorization and why is it important?
Vectorization is the process of converting raster images or sketches into vector graphics. This is important because vector graphics can be scaled infinitely without losing quality, making them ideal for logos and illustrations.
What tools can I use to transform my sketch into a vector?
You can use software like Adobe Illustrator, CorelDRAW, or free tools like Inkscape to transform your sketch into a vector format.
Can I vectorize my sketch manually?
Yes, you can manually trace over your sketch using the pen tool in vector graphic software, allowing for precise control over the final design.
Are there automatic tools for vectorizing sketches?
Yes, many programs offer automatic vectorization features, such as Adobe Illustrator’s Image Trace function, which can convert your sketches to vectors with a few clicks.
What file formats are commonly used for vector graphics?
Common file formats for vector graphics include SVG, AI, EPS, and PDF, each serving different purposes in design and printing.
What are the benefits of using vector graphics over raster images?
Vector graphics are resolution-independent, can be easily edited, and are smaller in file size compared to raster images, making them more versatile for various design applications.