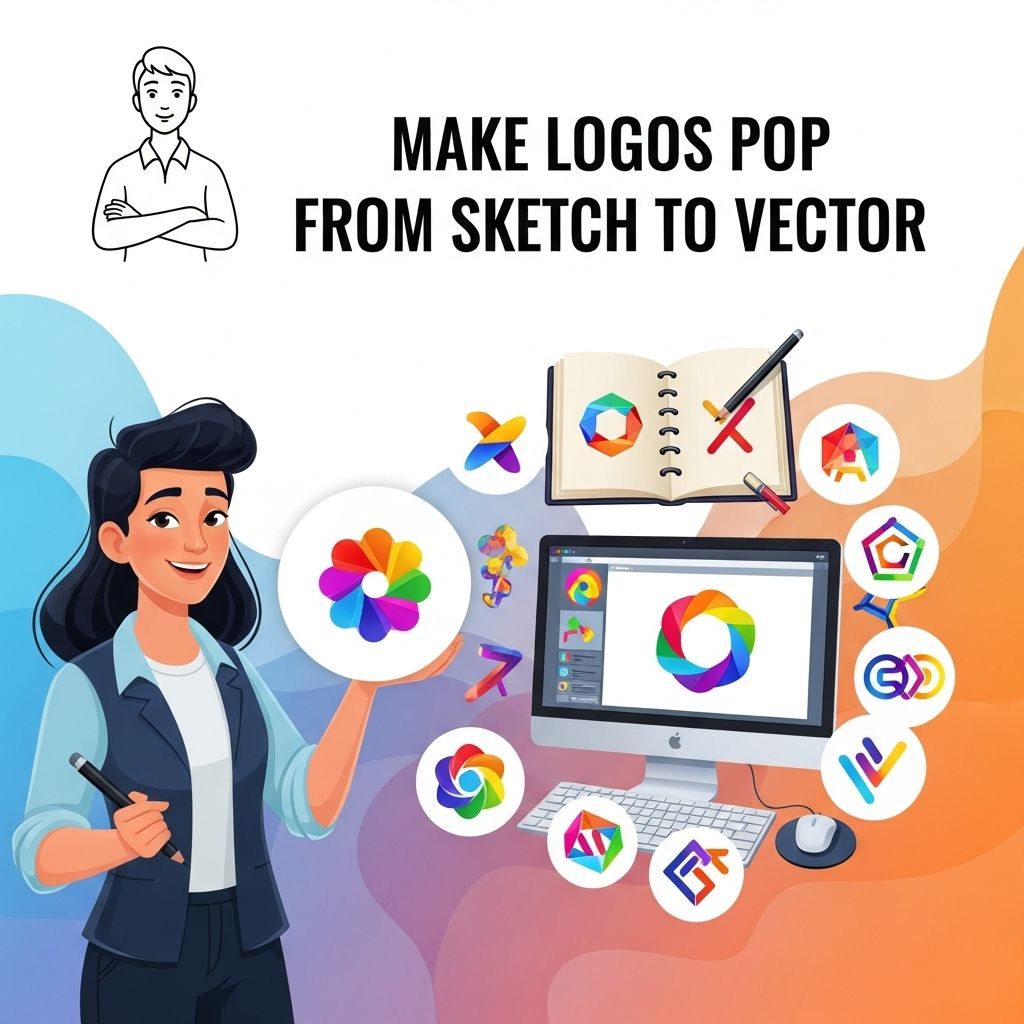
Creating a logo that stands out is essential for any brand, and transforming a logo from a sketch to a vector format is a crucial step in this design process. In today’s digital era, having a high-resolution, scalable version of your logo is vital for various applications, from business cards to large banners. In this article, we will explore the entire process of making logos pop from a simple sketch to a polished vector graphic, including tools, techniques, and best practices.
Transforming sketches into stunning vector logos is a crucial process in logo design, as it allows for the creation of versatile and scalable graphics. By refining hand-drawn concepts into clean digital formats, designers can ensure that their logos retain clarity across various applications. For those seeking ideas and guidance, numerous resources are available, including logo design inspiration.
Table of Contents
The Importance of Vector Graphics
Vector graphics are composed of paths defined by a start and end point, along with other points, curves, and angles. This contrasts with raster graphics, which are made up of pixels. The benefits of using vector graphics for logos include:
- Scalability: Vector graphics can be scaled to any size without losing quality.
- Editability: Individual elements of a vector image can be modified easily without affecting the entire design.
- File Size: Vector files are typically smaller than raster files, making them easier to store and share.
Step-by-Step Process to Convert a Sketch to Vector
Transforming a hand-drawn logo into a crisp vector graphic requires careful attention to detail. Below is a comprehensive guide that outlines the necessary steps in this process.
1. Sketching Your Ideas
Start with brainstorming and sketching out your logo concepts. Here are some tips to guide your creativity:
- Think about the message your logo should convey.
- Consider the target audience and industry standards.
- Experiment with different styles and elements.
Once you have a few compelling sketches, choose the best one as your base for the vector conversion.
2. Digitizing Your Sketch
The next step is to digitize your sketch. There are two primary methods to achieve this:
- Scan Your Sketch: Use a scanner to create a high-resolution image of your sketch. Ensure the lines are clear for better tracing.
- Photograph Your Sketch: If you don’t have a scanner, take a well-lit photograph of your sketch. Use a tripod for stability and avoid shadows.
Once you have a digital version of your sketch, you can proceed to the next steps.
3. Choosing the Right Software
There are several software options available for vectorizing your logo:
| Software | Platform | Features |
|---|---|---|
| Adobe Illustrator | Windows, macOS | Industry standard with extensive vector tools. |
| CorelDRAW | Windows | Great for beginners with user-friendly tools. |
| Inkscape | Windows, macOS, Linux | Open-source and free, suitable for simple designs. |
4. Tracing the Sketch in Vector Software
Using your chosen software, it’s time to trace over your sketch. Here’s how to do it:
- Import your scanned sketch into your vector software.
- Create a new layer and lock the layer with the sketch.
- Begin tracing the outlines and shapes using the Pen Tool or the Shape Tool.
- Use the Color Picker to choose colors that align with your brand’s identity.
Remember to keep things simple and clean; less is often more when it comes to logo design.
5. Refining Your Design
After tracing your sketch, it’s essential to refine the design. This involves:
- Adjusting Shapes: Ensure all shapes are aligned and proportional.
- Adding Typography: Choose a font that complements your design and is legible.
- Creating Variations: Experiment with different color palettes and layouts.
6. Finalizing the Vector Logo
Once you’re satisfied with your design, it’s time to finalize your logo:
- Export your logo in multiple formats, including SVG, EPS, and PDF, to ensure compatibility across various platforms.
- Check your logo at different sizes to ensure it looks good in all applications.
Best Practices for Logo Design
To ensure your logo is effective and resonates with your audience, consider the following best practices:
- Simplicity: A simple logo is more memorable and recognizable.
- Relevance: Ensure your logo reflects your brand’s values and mission.
- Versatility: A good logo should work across various media and applications.
Conclusion
Transforming a logo from a sketch to vector format is a rewarding process that can significantly enhance the visual identity of a brand. By following the steps outlined in this article, designers can create logos that are not only visually appealing but also functional across various platforms. Whether you’re a seasoned designer or a beginner, mastering the art of logo design and vectorization will elevate your creative projects to new heights.
FAQ
How can I convert a hand-drawn sketch into a vector logo?
You can convert a hand-drawn sketch into a vector logo by scanning the sketch and using vector graphic software like Adobe Illustrator. Use the Image Trace feature to convert the raster image to vector paths.
What software is best for creating vector logos from sketches?
Adobe Illustrator is the most popular choice for creating vector logos, but alternatives like CorelDRAW and Inkscape also offer robust tools for vectorization.
What is the difference between raster and vector images?
Raster images are made of pixels and can lose quality when resized, while vector images are made of paths defined by mathematical equations, allowing them to be scaled infinitely without losing quality.
Can I make my logo pop with color after converting to vector?
Yes! Once your logo is in vector format, you can easily add vibrant colors, gradients, and effects to make it visually appealing and stand out.
Are there any tips for enhancing my vector logo design?
To enhance your vector logo, consider using contrast, balance, and negative space effectively. Also, keep your design simple and memorable for maximum impact.
Is it necessary to hire a professional for logo design from a sketch?
While it’s not necessary to hire a professional, doing so can ensure a polished and high-quality final product. However, with the right tools and tutorials, you can create a great logo yourself.