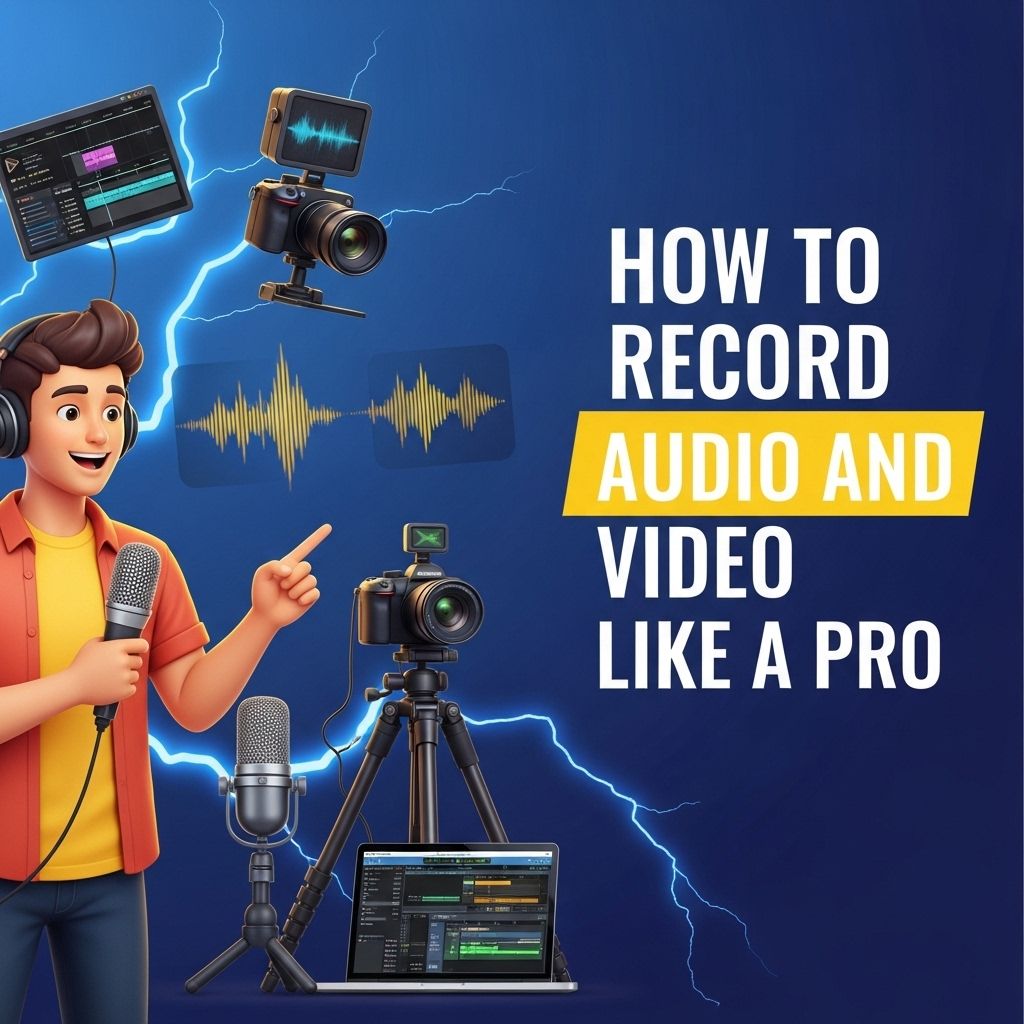
In the world of content creation, the ability to record high-quality audio and video can set you apart from the competition. Whether you are creating vlogs, tutorials, podcasts, or streaming live events, having the right tools and techniques can transform your output from amateur to professional. In this article, we will explore the essential equipment, techniques, and tips for recording audio and video like a pro.
Mastering the art of recording audio and video can elevate your content creation skills to a professional level. Whether you’re capturing a podcast or producing a video, understanding the nuances of sound and image quality is essential for impactful storytelling. To complement your visual presentations, check out these resources for high-quality designs, like how to create bag mockups.
Table of Contents
Essential Equipment for High-Quality Recording
To achieve professional-level recordings, you need to invest in the right equipment. Below is a list of essential tools that can elevate your recording quality:
- Camera: DSLRs and mirrorless cameras provide excellent video quality. Consider models with 4K capability.
- Microphone: A good microphone is crucial for clear audio. Options include:
- Condenser microphones for studio settings.
- Lavalier microphones for interviews and vlogs.
- Shotgun microphones for directional audio capture.
- Tripod or Stabilizer: To avoid shaky footage, use a sturdy tripod or a gimbal stabilizer.
- Lighting: Softbox or ring lights can significantly improve video quality by properly illuminating your subject.
- Audio Interface: For recording high-quality audio with a microphone, an audio interface is beneficial.
Recording Techniques
Understanding the techniques behind recording audio and video is just as important as having the right equipment. Here are some essential techniques to master:
Video Recording Techniques
- Framing: Use the rule of thirds to compose shots effectively.
- Focus: Ensure the subject is in sharp focus. Use manual focus for better control.
- Resolution and Frame Rate: Record in the highest resolution possible (ideally 4K), and choose a frame rate that suits your content (30fps for standard video, 60fps for smooth motion).
- White Balance: Set the correct white balance to avoid color casts that can detract from video quality.
- Experiment with Angles: Don’t hesitate to try different angles and perspectives to add visual interest.
Audio Recording Techniques
- Acoustic Treatment: If recording in a room, treat the space with sound-absorbing materials to reduce echo and background noise.
- Positioning Microphones: Place microphones close to the sound source and in a quiet environment for the best results.
- Monitor Sound Levels: Use headphones to monitor audio while recording, ensuring it’s neither too quiet nor peaking.
- Utilize Pop Filters: Use pop filters for vocals to reduce plosive sounds that can distort audio.
- Record Multiple Takes: Capture several takes of important sections, allowing for post-production flexibility.
Post-Production Tips
Once you’ve recorded your audio and video, the next step is post-production. Here are key areas to focus on:
Video Editing
Editing your video effectively can enhance its overall quality. Here are steps to follow:
- Software: Choose editing software that fits your needs. Popular options include Adobe Premiere Pro, Final Cut Pro, and DaVinci Resolve.
- Cut Unnecessary Footage: Trim any irrelevant or redundant clips to keep your audience engaged.
- Add Transitions: Use transitions between clips to maintain flow, but avoid overuse.
- Incorporate Text and Graphics: Include titles, captions, and graphics to complement your content and provide context.
- Color Grading: Adjust the color balance and grading during post-production to achieve a polished look.
Audio Editing
Similar to video, audio editing is essential for clarity and professionalism. Focus on the following:
- Software: Use audio editing software like Audacity, Adobe Audition, or Logic Pro.
- Noise Reduction: Remove background noise and hiss using noise reduction tools.
- Equalization: Adjust frequencies to enhance vocal clarity and reduce muddiness.
- Compression: Use compression to even out volume levels and make quiet sounds audible without making loud sounds overpowering.
- Add Effects: Consider adding reverb or delay for a polished sound.
Best Practices for Recording Content
To consistently produce high-quality recordings, adhere to the following best practices:
| Practice | Description |
|---|---|
| Prepare Scripts | Plan your content with scripts or outlines to stay on track. |
| Test Equipment | Do a test run to check that all equipment is functioning correctly before the main recording. |
| Back Up Your Files | Always back up your recordings to avoid losing valuable content. |
| Seek Feedback | Share rough cuts with trusted peers for constructive feedback. |
Conclusion
Recording audio and video like a pro is an achievable goal with the right tools and techniques. By investing in quality equipment, mastering recording techniques, and applying effective post-production practices, you can produce content that stands out in today’s crowded media landscape. Remember, practice is key; the more you record and refine your techniques, the better your results will become. Embrace the journey, and happy recording!
FAQ
What equipment do I need to record audio and video like a pro?
To record audio and video like a pro, you need a high-quality camera, a reliable microphone, good lighting equipment, and a sturdy tripod.
How can I improve the audio quality of my recordings?
To improve audio quality, use an external microphone, minimize background noise, and consider using audio editing software to enhance sound clarity.
What tips can help me achieve better video composition?
For better video composition, follow the rule of thirds, ensure proper framing, use leading lines, and maintain a clean background.
How do I choose the right lighting for my video recordings?
Choose soft, diffused lighting for a natural look, and consider using three-point lighting to eliminate shadows and enhance your subject.
What software should I use for editing audio and video?
Popular software options for editing audio and video include Adobe Premiere Pro, Final Cut Pro, and Audacity for audio editing.
How can I make my recordings look more professional?
To make your recordings look more professional, pay attention to camera settings, use high-resolution formats, and ensure smooth transitions and edits.