In the fast-evolving world of photography, mastering the art of photo editing can elevate your images from ordinary to extraordinary. Whether you’re a budding photographer or an experienced pro, understanding key editing techniques is essential for producing stunning visuals. This article dives into ten indispensable photo editing tricks that can enhance your workflow and the quality of your images.
Table of Contents
Understanding the Basics of Photo Editing
Before diving into specific tricks, it’s important to grasp some fundamental concepts of photo editing. Knowing the tools available in editing software, such as Adobe Photoshop or Lightroom, can drastically improve your efficiency and creativity.
- Exposure: Adjusts the brightness and darkness of the image.
- Contrast: Enhances the difference between light and dark areas.
- Saturation: Affects the intensity of colors.
- Sharpness: Enhances the detail and clarity of the image.
Utilizing these basic adjustments effectively can set a strong foundation for more advanced techniques.
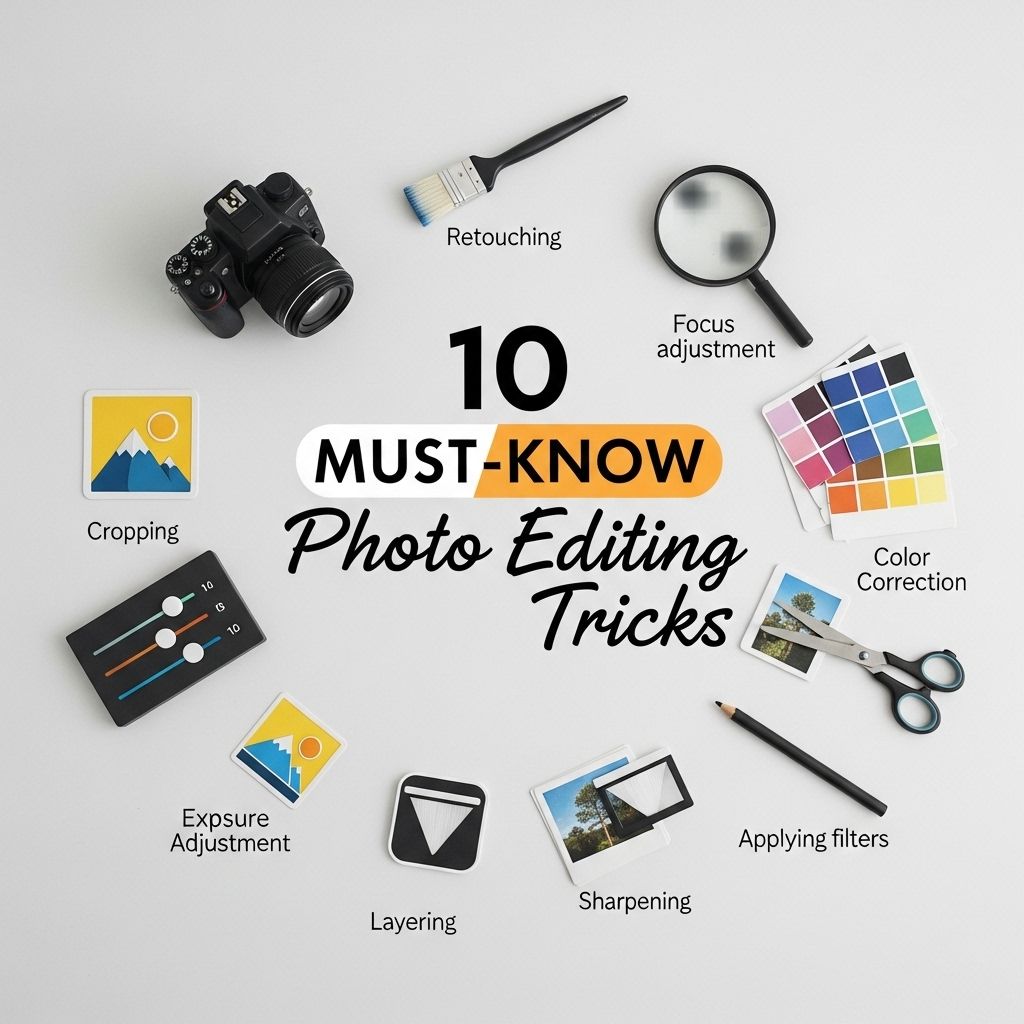
1. Use the Crop Tool Wisely
Cropping can drastically change the composition of a photo and draw attention to focal points. Here are some tips for effective cropping:
- Follow the Rule of Thirds to create balanced compositions.
- Eliminate distracting elements from the edges of the frame.
- Experiment with different aspect ratios depending on your target platform (e.g., Instagram, print).
Example of Effective Cropping
| Before Cropping | After Cropping |
|---|---|
 |
 |
2. Master Color Correction
Color correction is crucial for achieving realistic and pleasing images. Here’s how to approach it:
- Use the White Balance tool to neutralize color casts.
- Adjust individual color channels to enhance or correct hues.
- Consider using Color Lookup tables for creative color grading.
3. Leverage Layer Masks
Layer masks are powerful tools in Photoshop that allow for non-destructive editing. Here are some uses:
- Blend multiple images together seamlessly.
- Apply selective adjustments to specific areas without affecting the entire image.
- Create intriguing double exposure effects by masking and blending.
4. Harness the Power of Filters and Presets
Filters and presets can streamline your editing process while providing unique styles. Consider these tips:
- Develop your own presets based on your editing style.
- Experiment with different filters to find a look that resonates with your brand.
- Be cautious not to overdo it; subtlety is key.
5. Utilize the Healing Brush Tool
The healing brush is essential for retouching. It can remove blemishes, spots, and other imperfections. Here’s how:
- Zoom into the area needing repair for precise editing.
- Sample nearby pixels for accurate color and texture matching.
- Blend edges seamlessly for natural results.
6. Play with Shadows and Highlights
Fine-tuning shadows and highlights can add depth to your photos. Use the following techniques:
- Adjust shadow and highlight sliders to retrieve lost details.
- Use curves for more granular control over tonal adjustments.
7. Sharpening Techniques
Applying sharpening selectively can enhance details without introducing artifacts:
- Zoom in to 100% when sharpening.
- Use the Unsharp Mask for controlled sharpening.
- Apply sharpening to specific areas using layer masks.
8. Explore Textures and Overlays
Adding textures or overlays can create a unique feel to your images. Here’s how:
- Choose textures that complement your photo style.
- Adjust the layer blending modes to achieve different effects.
- Use opacity settings to control the intensity of the texture.
9. Experiment with Black and White Conversion
Converting an image to black and white can create a striking effect. Key steps include:
- Use the channel mixer to adjust how each color channel contributes to the grayscale image.
- Add contrast to enhance tonal range.
- Consider grain effects for a vintage feel.
10. Save Your Work Efficiently
Finally, don’t overlook the essentials of saving your work:
- Save as a PSD for ongoing projects to retain layers.
- Export in various formats (JPEG, TIFF, etc.) based on usage requirements.
- Backup your edits to cloud storage or an external drive.
By implementing these ten photo editing tricks, you’ll be well on your way to creating visually striking images. Remember, the key to great photo editing is practice and experimentation, so don’t hesitate to explore these techniques in your own projects.
FAQ
What are the essential photo editing tricks for beginners?
Some essential photo editing tricks for beginners include adjusting brightness and contrast, cropping for composition, using filters for mood enhancement, and learning to use layers for non-destructive editing.
How can I improve the colors in my photos?
You can improve the colors in your photos by adjusting saturation, using color balance tools, and applying selective color adjustments to enhance specific areas.
What is the importance of cropping in photo editing?
Cropping is important in photo editing as it helps to improve composition, focus attention on the subject, and eliminate distracting elements from the image.
How do I remove blemishes and imperfections from photos?
You can remove blemishes and imperfections using tools like the healing brush or clone stamp in photo editing software, which allow you to paint over unwanted spots.
What are some advanced photo editing techniques?
Advanced photo editing techniques include using layers for complex compositions, applying masks for selective adjustments, and creating composite images for unique visual effects.
How do I save my edited photos for the web?
To save your edited photos for the web, use formats like JPEG or PNG, optimize the image size for faster loading, and ensure the resolution is suitable for online viewing.