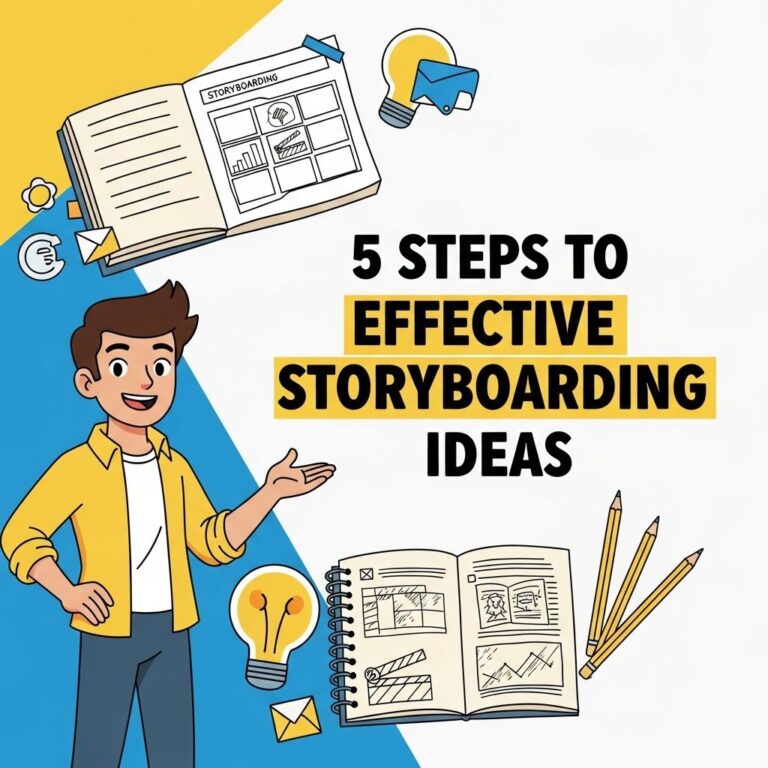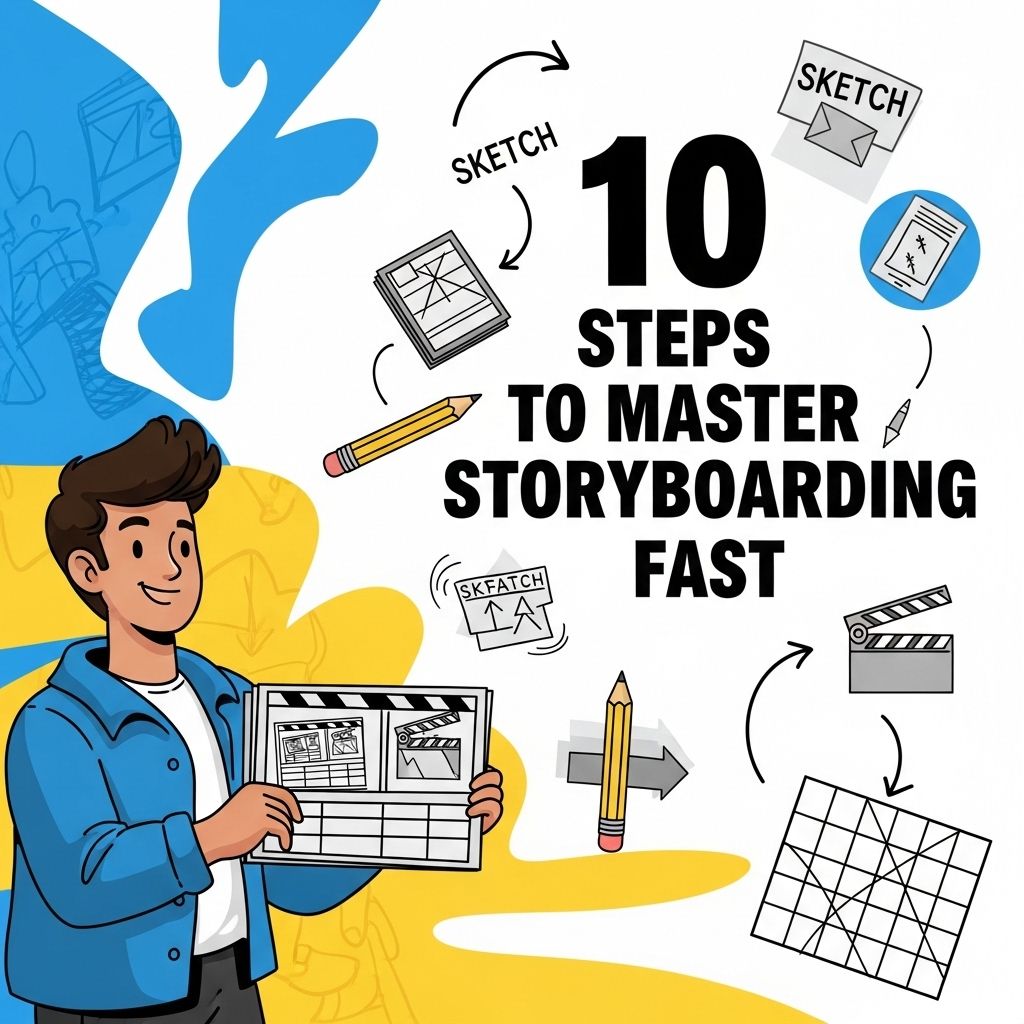
Storyboarding is a vital skill in various fields such as filmmaking, animation, and game design. It serves as a visual blueprint, allowing creators to outline their narratives and visualize scenes before the actual production begins. In this article, we will explore ten essential steps to master storyboarding quickly and effectively. By following these guidelines, you can elevate your storytelling abilities and streamline your creative process.
Table of Contents
1. Understand the Basics of Storyboarding
Before diving into the nitty-gritty of storyboarding, it’s crucial to grasp its basic concepts. A storyboard is a series of images that depict how a story unfolds. Each panel represents a key moment or scene, complete with essential details such as:
- Character actions
- Camera angles
- Dialogue snippets
- Emotion and tone
Understanding these elements will set the foundation for your storyboarding skills.
2. Gather Your Tools
To create effective storyboards, you don’t need fancy software or expensive tools. Start with the basics:
- Pencil and Paper: Traditional storyboarding often starts on paper. It allows for quick sketches and easy modifications.
- Storyboarding Software: Tools like Storyboard That, Toon Boom Storyboard Pro, and Adobe Photoshop can enhance your workflow.
- Templates: Consider using storyboard templates to save time. These often include pre-defined frames for your sketches.
3. Define Your Story Arc
Every compelling storyboard is built upon a well-structured story arc. This usually consists of:
| Story Arc Element | Description |
|---|---|
| Exposition | Introduce characters and settings. |
| Rising Action | Build up tension through conflicts. |
| Climax | The turning point of the story. |
| Falling Action | Consequences of the climax unfold. |
| Resolution | Conclude the story and wrap up loose ends. |
Crafting a clear story arc will provide a roadmap for your storyboard.
4. Break Down Your Scenes
Once you have your story arc, it’s time to break down your narrative into individual scenes. For each scene, consider the following:
- The purpose of the scene
- Key actions
- Character motivations
- Desired emotional impact
By analyzing each scene, you can create a focused and engaging storyboard.
5. Sketch Your Ideas
With your scenes defined, it’s time to start sketching. Keep these tips in mind:
- Keep it Simple: Your sketches don’t have to be perfect. Basic stick figures and shapes can suffice.
- Focus on Composition: Consider the layout of each panel. Use the rule of thirds to create visually appealing scenes.
- Indicate Movement: Use arrows and lines to show character movement and camera angles.
6. Add Dialogue and Annotations
Once your panels are sketched out, it’s important to insert dialogue and annotations. This helps convey the story more effectively. Include:
- Character speeches
- Sound effects
- Specific camera directions (e.g., close-up, wide shot)
7. Review and Revise
Storyboarding is an iterative process. After completing your initial draft, take a step back and review your work. Ask yourself:
- Does the storyboard flow logically?
- Are there any missing elements?
- Is the pacing appropriate?
Don’t hesitate to make revisions; this is essential for refining your storyboard.
8. Seek Feedback
Once you’ve made revisions, it’s beneficial to seek feedback from peers or mentors. Constructive criticism can open your eyes to aspects you might have overlooked. Consider:
- Joining a storyboard artist group online
- Sharing your work on social media
- Attending workshops or local meet-ups
9. Practice Regularly
Like any other skill, regular practice is key to mastering storyboarding. Set aside time weekly to create new storyboards. You can:
- Redraw scenes from your favorite films
- Storyboard original ideas
- Participate in challenges or contests
10. Build a Portfolio
As you gain confidence and improve your skills, start compiling a portfolio of your best work. This not only showcases your abilities but also serves as a reflective tool for your growth as an artist. Include:
- Diverse projects
- Detailed descriptions of your thought process
- Feedback received and changes made
Conclusion
Mastering storyboarding doesn’t happen overnight, but by following these ten steps, you can significantly accelerate your learning process. With practice and dedication, you’ll find that storyboarding becomes second nature, allowing you to tell your stories with greater clarity and impact.
FAQ
What is storyboarding and why is it important?
Storyboarding is a visual planning tool used to outline the sequence of scenes in a narrative. It is important because it helps visualize the flow of a story, ensuring clarity and coherence in the final product.
What materials do I need to start storyboarding?
To start storyboarding, you’ll need basic materials like paper or a digital platform, pencils or drawing tools, and markers for coloring. Optional tools include storyboarding software for a more organized approach.
How do I create a storyboard from scratch?
To create a storyboard from scratch, start by outlining your narrative, break it down into key scenes, sketch each scene on a panel, and add notes about actions, dialogue, and transitions.
What are the key elements to include in a storyboard?
Key elements to include in a storyboard are panel sketches, scene descriptions, character actions, dialogue, camera angles, and timing notes to guide the production process.
How can storyboarding help with visual storytelling?
Storyboarding helps with visual storytelling by providing a clear roadmap for the narrative, allowing creators to experiment with pacing, composition, and visual elements before final production.
What are some common mistakes to avoid in storyboarding?
Common mistakes to avoid in storyboarding include overcomplicating scenes, neglecting timing, failing to show character emotions, and not considering the audience’s perspective.