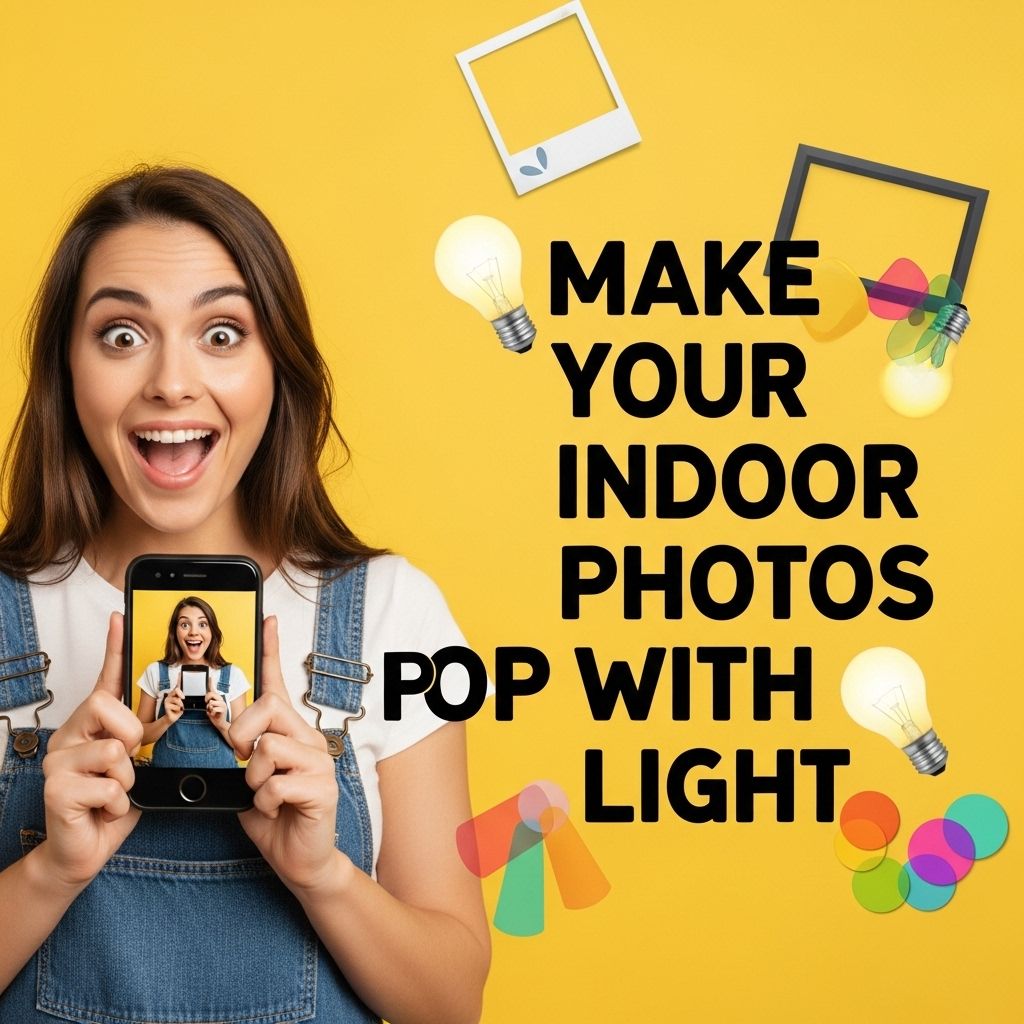
Capturing stunning indoor photographs can often be challenging due to lighting conditions. The right light can transform an ordinary image into a captivating masterpiece. Whether you’re an amateur photographer or a seasoned pro, understanding how to manipulate and utilize light indoors is crucial for making your photos pop. In this article, we’ll explore various techniques, tips, and equipment that can elevate your indoor photography.
Lighting can transform your indoor photos, making them vibrant and captivating. Whether you’re shooting products or portraits, utilizing natural or artificial light effectively helps your images stand out. Consider using various bag mockup templates to enhance your presentations.
Table of Contents
Understanding Indoor Lighting
Indoor lighting can be divided into several categories, each with its own characteristics:
- Natural Light: This is the light that comes from the sun. It varies in intensity and color throughout the day.
- Artificial Light: This includes all man-made light sources, such as incandescent bulbs, fluorescent lights, and LED fixtures.
- Mixed Light: A combination of both natural and artificial light sources, often leading to color balance challenges.
Natural Light Sources
Using natural light can create soft and pleasing effects in your photos. Here’s how to effectively use it:
- Windows: Position your subject near a window during the ‘golden hour’—the hour after sunrise and before sunset.
- Reflectors: Use reflectors to bounce light onto your subject. You can use white boards, professional reflectors, or even aluminum foil.
- Diffusers: Soften harsh sunlight by using a diffuser, such as a sheer curtain or a specialized photography diffuser.
Artificial Lighting Techniques
While natural light is beautiful, it’s not always available. Here are some artificial lighting techniques to consider:
Softbox Lighting
A softbox is a light modifier that diffuses and softens the light, reducing harsh shadows. It’s perfect for portrait photography and product shots.
Continuous Lighting
Unlike flash photography, continuous lighting allows you to see how the light interacts with your subject in real-time. Using LED lights can provide flexibility and ease of use.
Light Modifiers
Using light modifiers can significantly improve the quality of your indoor photography. Here are some common types:
| Modifier | Description |
|---|---|
| Softboxes | Creates soft light that reduces harsh shadows. |
| Umbrellas | Reflects light and can spread it over a larger area. |
| Grids | Directs and narrows the beam of light, preventing spill. |
| Diffusers | Softens the light, making it more flattering for portraits. |
Camera Settings for Indoor Photography
Adjusting your camera settings is essential for optimizing light conditions:
- ISO: Increase the ISO in low-light situations to make your camera sensor more sensitive to light. However, be cautious of increasing noise.
- Aperture: Use a wide aperture (low f-stop number) to allow more light into the camera, which is especially useful for portraits.
- Shutter Speed: Keep shutter speed fast enough to avoid motion blur, but slow enough to capture the light effectively.
Using Exposure Compensation
Sometimes your camera’s metering system may misjudge the light. Use exposure compensation to adjust the brightness of your image. This can help you achieve the desired exposure, especially in mixed lighting scenarios.
Creative Lighting Techniques
Go beyond traditional lighting by experimenting with these creative techniques:
Light Painting
This technique involves using a long exposure setting while moving a light source around your subject. It creates stunning effects and allows for unique artistic expression.
Backlighting
Positioning your subject between the camera and the light source can create dramatic silhouettes or highlight translucent subjects like flowers and fabrics.
Post-Processing Tips
Editing your photos can further enhance the light in your images:
- Adjust Exposure: Tweak the exposure levels to make your photos brighter or darker as needed.
- Enhance Highlights and Shadows: Use these tools to bring out details in bright and dark areas.
- Color Grading: Adjust the color balance to correct color casts caused by artificial light sources.
Conclusion
Indoor photography doesn’t have to be a daunting task. By mastering different lighting techniques, understanding your camera settings, and utilizing both natural and artificial light, you can create stunning images that pop. With practice and experimentation, you’ll find the right balance of light to elevate your indoor photos to new heights.
FAQ
How can I improve lighting for indoor photography?
To enhance indoor photography, use natural light from windows, consider using reflectors to bounce light, and experiment with different light sources like lamps or LED lights.
What settings should I use on my camera for indoor photos?
For indoor photography, use a wider aperture (lower f-stop), increase the ISO for better sensitivity in low light, and adjust the shutter speed to prevent motion blur.
Should I use a flash for indoor photography?
Using a flash can help illuminate subjects, but it can also create harsh shadows. Consider diffusing the flash or using it as a fill light for a more natural look.
What are some tips for using artificial light in indoor photography?
Use softboxes or diffusers to create even lighting, position lights at different angles for depth, and mix color temperatures for a balanced look.
How do I make colors pop in indoor photos?
To make colors pop, control your lighting, use a white balance setting that matches your light source, and enhance saturation and contrast during post-processing.
What time of day is best for indoor photography?
The best time for indoor photography is during the golden hour, shortly after sunrise or before sunset, when natural light is soft and warm.