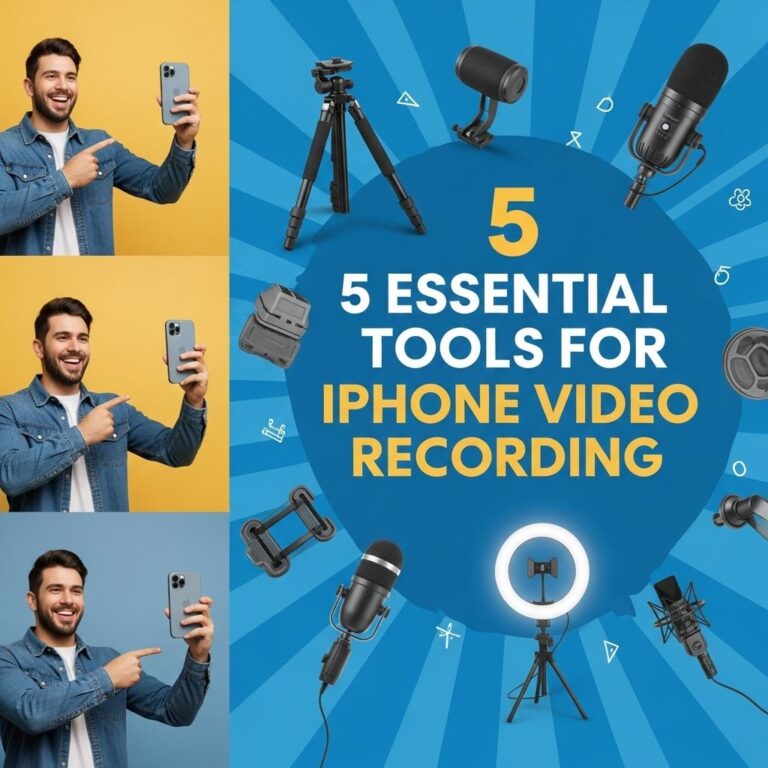
Creating engaging talking head videos has become a staple for content creators, educators, and marketers alike. These videos bring a personal touch to digital content, allowing the presenter to connect directly with their audience. However, having the right tools can make a significant difference in the quality of your videos. In this article, we will explore five essential tools you need for producing high-quality talking head videos that stand out in a crowded market.
Creating engaging talking head videos requires the right set of tools to ensure both quality and viewer engagement. From lighting solutions to audio equipment, understanding what you need can significantly elevate your productions. For visual enhancements, consider incorporating elements from tube graphics to add professionalism to your content.
Table of Contents
1. Camera: The Heart of Your Setup
Your camera is undoubtedly one of the most important tools you’ll need. While many smartphones today come equipped with excellent cameras, investing in a dedicated camera can enhance the quality of your videos significantly.
Recommended Cameras
- DSLR Cameras: These offer great image quality and manual control over settings.
- Mirrorless Cameras: They are compact, lightweight, and provide excellent video capabilities.
- Webcams: High-quality webcams can also suffice for online streaming and quick setups.
Key Features to Look For
- 1080p or higher resolution
- Good low-light performance
- Interchangeable lenses (for DSLRs and mirrorless)
2. Microphone: Clear Audio is Essential
While video quality is important, audio clarity is perhaps even more critical. Poor sound can distract viewers and detract from your message.
Types of Microphones
- Lavalier Microphones: Ideal for capturing dialogue, they can be clipped to clothing and allow for hands-free operation.
- Shotgun Microphones: These are excellent for directional sound, minimizing background noise.
- USB Microphones: Perfect for streaming and podcasting, they connect directly to your computer.
Tips for Optimal Audio
Consider the following when setting up your audio:
- Choose a quiet recording environment.
- Use pop filters to reduce plosive sounds.
- Test audio levels before recording.
3. Lighting: Setting the Mood
Good lighting can elevate your video from average to professional. Proper lighting helps ensure that you look your best and that the video is visually appealing.
Types of Lighting Solutions
| Type | Pros | Cons |
|---|---|---|
| Softbox Lights | Diffused, even lighting; great for interviews | Bulky, requires space |
| Ring Lights | Even illumination; perfect for beauty content | Can create harsh reflections |
| LED Panels | Portable; adjustable brightness | May require additional diffusion |
Lighting Techniques
When lighting your scene, consider:
- Using three-point lighting for a professional look.
- Positioning lights at 45-degree angles to the subject.
- Utilizing natural light when possible.
4. Editing Software: Crafting Your Final Product
Once your footage is captured, the next step is editing. The right software can help you refine your video, add effects, and create a polished final product.
Popular Editing Software Options
- Adobe Premiere Pro: Professional-grade software with advanced features.
- Final Cut Pro: A favorite among Mac users for its speed and efficiency.
- DaVinci Resolve: Offers powerful color correction tools, available for free.
Essential Editing Features
Look for software that offers:
- Multi-track editing for layered audio and video.
- Color grading tools to enhance visuals.
- Export options for various platforms (YouTube, Vimeo, etc.).
5. Teleprompter: Keeping Your Delivery Smooth
Whether you’re delivering a script or a set of bullet points, a teleprompter can help you maintain eye contact with the camera while ensuring you stay on track.
Types of Teleprompters
- Tablet Teleprompters: Use a tablet to display text, making them portable and affordable.
- Professional Teleprompters: These are larger and often come with a dedicated remote control.
Best Practices for Using a Teleprompter
For effective teleprompter use:
- Practice reading the text to maintain a natural delivery.
- Adjust the speed of the scrolling text to match your speaking pace.
- Ensure the teleprompter is positioned close to the camera lens for seamless eye contact.
Conclusion: Elevate Your Talking Head Videos
Investing in the right tools for your talking head videos can drastically improve the production quality and viewer engagement. A combination of a good camera, high-quality audio equipment, proper lighting, effective editing software, and a teleprompter can help you create impactful content that resonates with your audience. Remember, the goal is to communicate your message clearly and professionally. With these essentials in hand, you are well on your way to producing videos that not only inform but also captivate your viewers.
FAQ
What are the essential tools needed for talking head videos?
The essential tools include a high-quality camera, a good microphone, proper lighting, a tripod, and video editing software.
Why is a good microphone important for talking head videos?
A good microphone is crucial as it ensures clear audio, which enhances viewer engagement and overall video quality.
What type of lighting is best for talking head videos?
Soft, diffused lighting is best for talking head videos as it reduces harsh shadows and creates a more flattering look.
Do I need a tripod for filming talking head videos?
Yes, a tripod stabilizes your camera, preventing shaky footage and ensuring a professional-looking final product.
What video editing software is recommended for beginners?
Beginner-friendly video editing software includes Adobe Premiere Elements, iMovie, and Filmora, which offer intuitive interfaces and essential editing features.