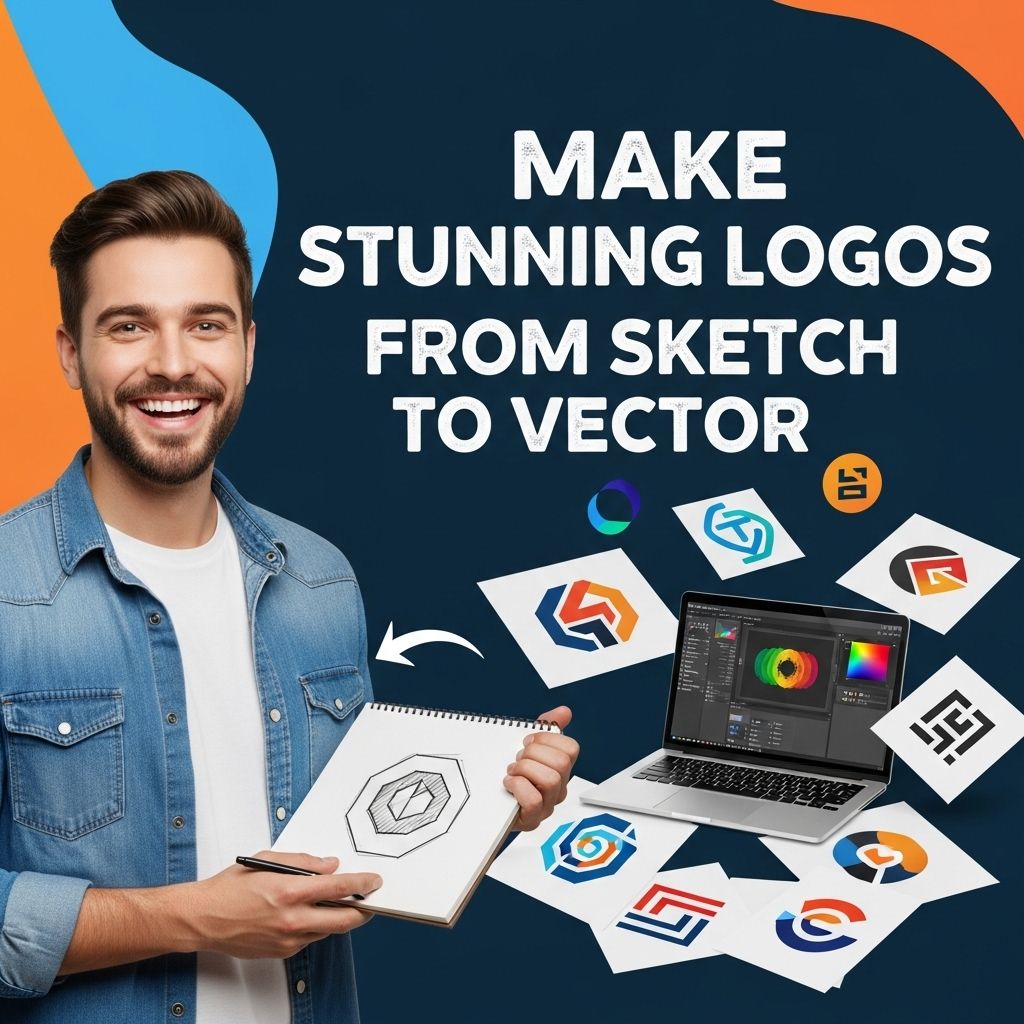
Creating a logo is a fundamental step in establishing a brand identity. A logo represents what a company stands for and is typically the first visual impression a potential customer has of a business. In today’s digital age, transitioning from a simple sketch to a polished vector logo is a vital skill for graphic designers. This article will walk you through the entire process, detailing each step and providing tips for making stunning logos that resonate with your audience.
Creating stunning logos is an artistic journey that begins with a simple sketch and transforms into a polished vector graphic. This process allows designers to explore unique logo ideas and refine their vision into a professional representation of a brand. For inspiration and resources, you can explore various unique logo ideas.
Table of Contents
The Importance of a Well-Designed Logo
Logos serve as the face of a brand, and their design can significantly impact consumer perception. A strong logo is memorable, versatile, and appropriate for the company it represents. Here are some key reasons why a well-designed logo is important:
- Brand Recognition: A good logo helps consumers recognize your brand quickly.
- Professionalism: A well-crafted logo can convey the professionalism of a business.
- Differentiation: A unique logo sets a brand apart from competitors.
- Emotional Connection: Logos can evoke feelings and connect with the target audience on an emotional level.
From Sketch to Digital: The Process
The journey from a rough sketch to a refined vector logo involves several key phases. Below are the steps involved in this transition:
1. Conceptualization
Before diving into the design, it’s necessary to brainstorm. Here are ways to develop concepts:
- Identify your brand values and message.
- Research your target audience and competitors.
- Sketch multiple ideas and concepts on paper.
2. Sketching Your Ideas
Start with hand-drawn sketches. This phase allows for creativity without restrictions. Consider the following:
- Utilize different styles: Try various typography, shapes, and symbols.
- Limitations are non-existent: Don’t hesitate to experiment.
- Focus on functionality: Consider how the logo looks in different sizes and applications.
3. Choosing the Right Tools
Once you have a selection of sketches you are happy with, it’s time to move into the digital realm. The choice of software is crucial. Popular software includes:
| Software | Platform | Features |
|---|---|---|
| Adobe Illustrator | Windows, Mac | Industry standard, extensive tools, and features for vector graphics. |
| CorelDRAW | Windows, Mac | User-friendly interface, powerful design tools. |
| Inkscape | Cross-platform | Open-source, free alternative with robust features. |
Designing the Logo in Vector Graphics
Vector graphics are crucial because they allow logos to be scaled to any size without losing quality. Here’s how to convert a sketch into a vector logo:
1. Import Your Sketch
Scan your sketch or take a clear picture and import it into your chosen graphic design software. This will serve as a template for your vector design.
2. Use the Pen Tool
The pen tool is essential for creating clean, precise lines and shapes. Here’s how to use it effectively:
- Click to create anchor points for straight lines.
- Click and drag to create curves.
- Keep your paths smooth and consistent.
3. Color Selection
Select a color scheme that aligns with your brand identity. Here are some tips:
- Choose a limited palette: Stick to 2-3 primary colors.
- Consider color psychology: Colors evoke emotions and convey messages.
- Test in different formats: Ensure the logo looks appealing in color and black & white.
4. Typography
If your logo includes text, choose a font that enhances your brand’s message. Consider the following:
- Legibility: Ensure the text is easy to read.
- Style: The font should complement the logo’s imagery.
- Adaptability: The font should work well in various sizes.
5. Finalizing the Design
After completing the vector logo, take time to review and refine your work. Key points to consider:
- Ensure scalability: Test the logo in various sizes.
- Versatility: Check its appearance in different backgrounds and applications.
- Seek feedback: Get opinions from peers or potential customers.
Exporting Your Logo
Once you are satisfied with your design, it’s time to export your logo. Choose the appropriate file formats for various uses:
| File Format | Use |
|---|---|
| SVG | Web and print, retains scalability. |
| PNG | Web, transparent background. |
| Print, maintains quality. | |
| EPS | Professional print, compatible with different design software. |
Final Thoughts
The process of creating stunning logos from sketch to vector is both challenging and rewarding. With proper planning, the right tools, and a focus on brand identity, you can create a logo that stands the test of time. Remember, a logo is not just a visual element; it is a crucial part of your brand’s story and identity. Take your time, embrace creativity, and let your designs speak for themselves.
FAQ
What is the process of creating a logo from sketch to vector?
The process typically involves brainstorming ideas, sketching initial concepts, digitizing the sketches using vector graphic software, refining the design, and finalizing the logo for various applications.
Why should I convert my logo from a sketch to vector format?
Converting your logo to vector format ensures it can be scaled to any size without losing quality, making it ideal for both print and digital use.
What software is best for vectorizing logos?
Popular software for vectorizing logos includes Adobe Illustrator, CorelDRAW, and Inkscape, which provide robust tools for creating and editing vector graphics.
Can I create a logo from a sketch without graphic design skills?
Yes, there are many online tools and templates available that can help you convert sketches into vector logos, but for a professional touch, hiring a graphic designer is recommended.
How long does it take to create a logo from sketch to vector?
The timeline can vary based on complexity and revisions, but a typical process can take anywhere from a few hours to several days.
What are the benefits of having a professional logo design?
A professional logo design can enhance brand recognition, convey your brand’s values, and create a lasting impression on customers.