
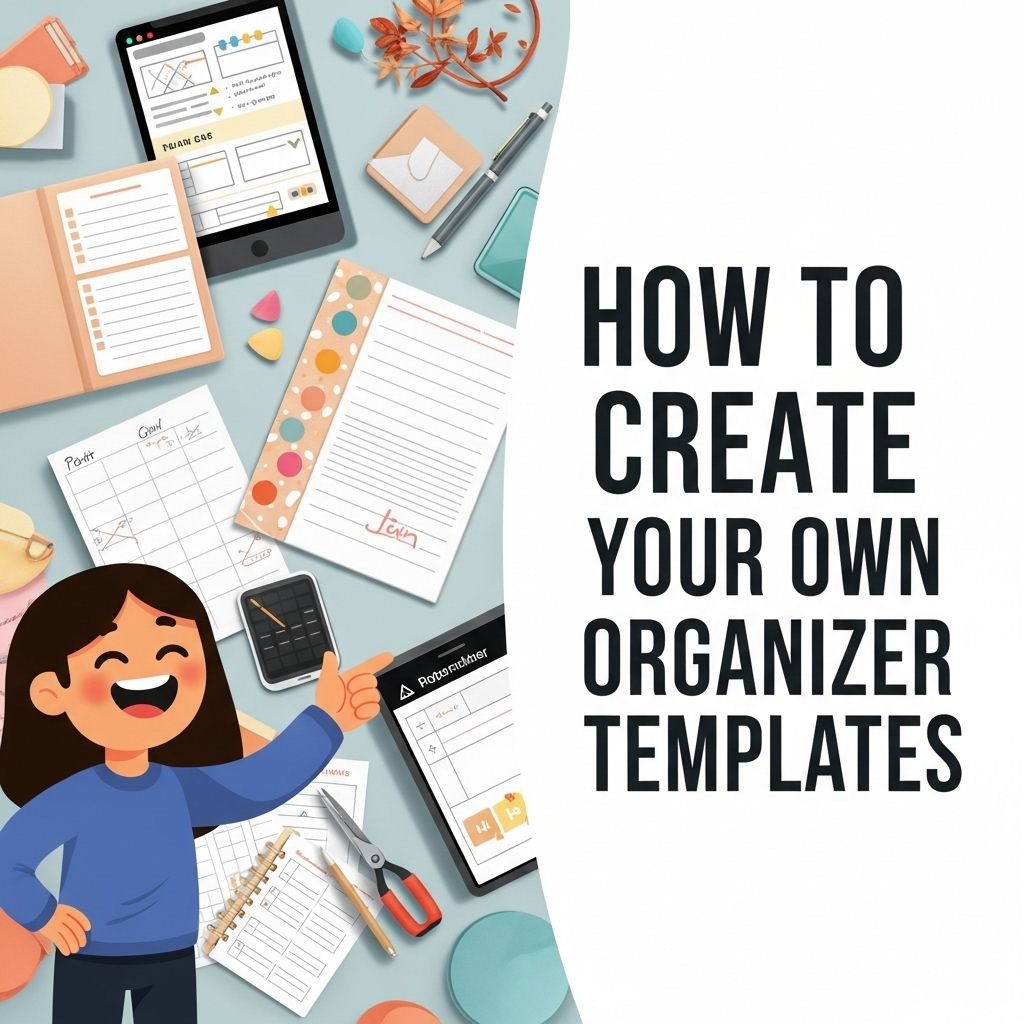
Creating your own organizer templates can revolutionize your workflow, making it easier to manage tasks and stay organized. Whether you’re a student, a professional, or someone who simply wants to keep their life in order, personalized templates can be tailored to fit your specific needs. This guide will take you through the steps of designing effective organizer templates, helping you maximize productivity and efficiency.
Creating your own organizer templates has never been easier, especially for niche categories like beer. With various resources available online, you can customize designs to fit your needs perfectly. For instance, explore beer design templates to kickstart your creative process.
Table of Contents
Why Use Custom Organizer Templates?
Custom templates allow you to:
- Tailor Your Needs: Design templates that cater specifically to your tasks and responsibilities.
- Save Time: Quickly access a structured format that requires minimal adjustments.
- Enhance Focus: Create visual reminders that keep important tasks top of mind.
Types of Organizer Templates
There are various types of organizer templates you can create. Here are some popular options:
1. Daily Planners
A daily planner helps you keep track of appointments and tasks. Elements to include:
- Date and day of the week
- Hourly schedule
- To-do list section
- Notes area
2. Weekly and Monthly Calendars
These templates provide a bigger-picture view of your schedule:
- Week-at-a-glance layout
- Monthly overview with major deadlines
3. Project Management Templates
For professionals managing specific projects, these templates can help:
- Task breakdown with assigned responsibilities
- Timeline or Gantt chart layout
- Status tracking
4. Budget Trackers
Help manage finances effectively by including:
- Income and expense categories
- Monthly budget overview
- Graphs for visual tracking
Tools for Creating Templates
Whether you prefer digital or paper formats, there are tools available for creating your templates:
Digital Tools
1. Google Docs/Sheets: User-friendly and shareable, great for collaborative templates.
2. Microsoft Excel: Offers advanced features for data management, ideal for budget trackers and project management.
3. Notion: A versatile productivity tool that allows you to create interconnected templates in one place.
Paper Options
If you prefer writing by hand, consider:
- Printable planner pages
- Bullet journals for a creative touch
- Custom notebooks
Steps to Create Your Own Templates
Follow these steps to develop your personalized organizer templates:
Step 1: Identify Your Needs
Assess what tasks, projects, or activities you need to organize:
- Personal life
- Work responsibilities
- School assignments
Step 2: Choose the Layout
Determine how you want your template to look:
- Grid layout for calendars
- List format for to-do lists
- Block sections for various categories
Step 3: Add Essential Features
Include features that are crucial for your productivity:
- Prioritization sections (e.g., urgent vs. non-urgent)
- Visual elements (e.g., color coding)
- Reminder spots for deadlines
Step 4: Test and Revise
After creating your template, test it out for a week. Gather feedback on what works and what doesn’t. Make necessary adjustments to optimize it further.
Design Tips for Effective Templates
Here are some additional tips to keep in mind while designing your templates:
1. Keep It Simple
A cluttered template can be overwhelming. Focus on clarity and ease of use.
2. Use Color Wisely
Color coding can help distinguish between different tasks or priorities. However, avoid using too many colors to prevent confusion.
3. Consider Space
Ensure there is enough space for you to write or input information without overcrowding the template.
Example of an Organizer Template
Weekly Planner Template
Here’s a simple layout for a weekly planner:
| Day | Time | Task | Status |
|---|---|---|---|
| Monday | 9:00 AM – 10:00 AM | Team Meeting | [ ] |
| Tuesday | 1:00 PM – 2:00 PM | Project Deadline | [ ] |
| Wednesday | 3:00 PM – 4:00 PM | Client Call | [ ] |
| Thursday | 10:00 AM – 11:00 AM | Training Session | [ ] |
| Friday | All day | Review Weekly Progress | [ ] |
Final Thoughts
Creating your own organizer templates is a rewarding process that can significantly enhance your productivity and organization skills. By identifying your specific needs, using the right tools, and following a structured approach, you can design templates that will keep your tasks and projects on track. Don’t hesitate to experiment and make adjustments until you find what works best for you. Your personalized organizer is just a few creative steps away!
FAQ
What are organizer templates?
Organizer templates are pre-designed formats that help you manage tasks, schedules, or information efficiently.
How can I create my own organizer templates?
You can create your own organizer templates using design software or apps like Microsoft Word, Google Docs, or Canva.
What elements should I include in my organizer templates?
Include sections for dates, tasks, notes, and any specific categories relevant to your organization needs.
Are there any free tools to create organizer templates?
Yes, tools like Google Sheets, Canva, and Microsoft Office offer free options to create customizable organizer templates.
Can I share my custom organizer templates with others?
Absolutely! You can share your templates through cloud services, email, or social media.
How can I improve my organizer templates over time?
Gather feedback from users, analyze their effectiveness, and adjust the design and content based on user preferences.