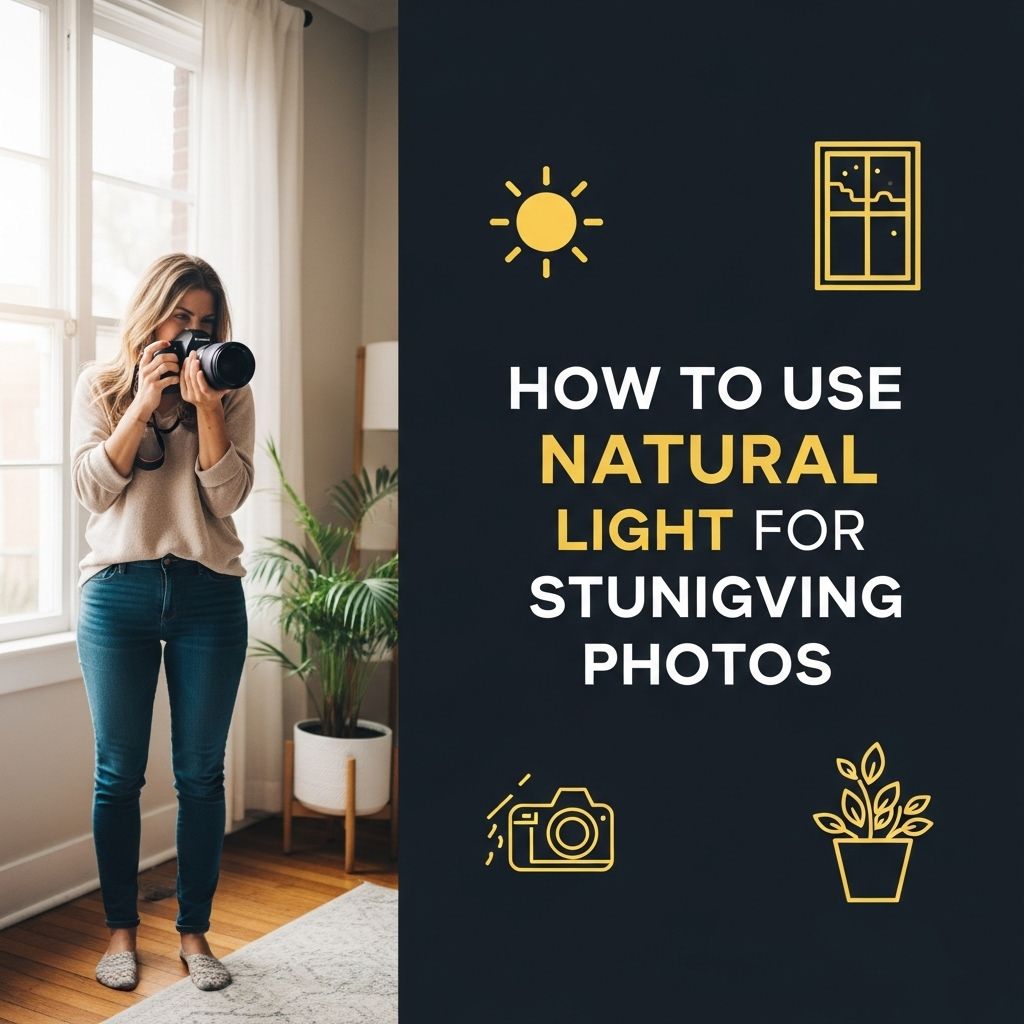
Natural light is one of the most powerful tools in photography, capable of transforming even the simplest scenes into breathtaking images. Understanding how to utilize the sun’s rays at different times of the day can elevate your photography skills and open up new creative possibilities. This guide will delve into the nuances of using natural light, including techniques, tips, and creative approaches to help you take stunning photos.
Mastering natural light is essential for capturing stunning photos that truly resonate. By understanding how sunlight interacts with your subject, you can create dynamic images that convey depth and mood. For those looking to enhance their visual storytelling, exploring best bag mockup designs can offer inspiration for integrating style into your photography.
Table of Contents
Understanding Natural Light
Natural light refers to any illumination that comes from a natural source, primarily the sun. Unlike artificial lighting, natural light changes throughout the day, influencing the mood and quality of your photos. Here are the primary characteristics to consider:
- Color Temperature: The color of light changes from warm (golden) at sunrise and sunset to cooler (bluish) during midday.
- Intensity: The brightness of natural light varies, being strongest around noon.
- Direction: The angle of sunlight influences shadows and highlights in your composition.
Best Times for Shooting
Timing is crucial when it comes to capturing great photos with natural light. The quality of light changes throughout the day:
Golden Hour
The golden hour refers to the period shortly after sunrise or before sunset when the light is warm and soft. This is often considered the best time for photography for several reasons:
- Soft shadows create a flattering effect.
- Warm colors enhance the scene, bringing out richer tones.
- Longer shadows add depth and dimension to your photos.
Blue Hour
The blue hour occurs just before sunrise and just after sunset. During this time, the sky takes on a deep blue hue, providing a dramatic backdrop:
- Ideal for cityscapes and landscape photography.
- Can create ethereal and moody images.
Midday Sun
Photographing during midday can be challenging due to harsh shadows and bright highlights. However, with the right techniques, it can also yield striking results:
- Use diffusers or reflectors to soften the light.
- Search for shady areas to create balanced lighting.
Techniques for Using Natural Light
Here are several techniques to enhance your skills in utilizing natural light effectively:
Backlighting
Backlighting occurs when the light source is behind your subject. This technique can create stunning silhouettes and highlights:
- Position your subject with the sun behind them.
- Use a wide aperture to create a shallow depth of field.
Side Lighting
Side lighting occurs when the sun is at an angle to your subject. This can add dimension and texture:
- Enhances the three-dimensionality of subjects.
- Creates interesting shadows that add depth.
Using Reflectors
Reflectors can bounce natural light onto your subject, filling in shadows and creating a balanced look:
- DIY options include white boards or aluminum foil.
- Commercial reflectors come in various colors to produce different effects.
Editing Natural Light Photos
Post-processing can enhance the natural light in your photos. Here are some tips:
Adjusting Exposure
Fine-tuning the brightness and contrast can emphasize the natural light:
- Increase exposure for underexposed images.
- Use contrast to make the light pop.
Color Correction
Adjusting color balance helps maintain the natural warmth or coolness of your images:
- Use white balance settings to prevent unnatural tints.
- Experiment with saturation to enhance or lessen colors.
Common Challenges and Solutions
Photographing with natural light presents several challenges. Understanding these can help you navigate them effectively:
Harsh Shadows
Harsh shadows can detract from your image:
- Consider shooting on overcast days where the clouds act as a natural diffuser.
- Utilize reflectors to bounce light and fill in shadows.
Overexposure
Bright sunlight can lead to overexposed highlights:
- Use a lower ISO setting to reduce sensitivity to light.
- Apply exposure compensation to darken your image.
Practical Tips for Photographers
Here are some practical tips to improve your ability to use natural light:
- Scout Locations: Visit potential shooting locations at different times of day to see how the natural light changes.
- Experiment: Don’t hesitate to try new angles and compositions to see what works best with natural light.
- Use Natural Elements: Incorporate trees, buildings, or other elements that naturally diffuse or block light.
Final Thoughts
Utilizing natural light can dramatically enhance your photography, allowing you to capture stunning and emotive images. By understanding the characteristics of natural light, selecting the right times for shooting, and applying effective techniques, you can develop a unique photographic style. Remember, practice and experimentation are key to mastering the art of natural light photography. Embrace the golden hours, make use of reflections, and keep pushing your creativity to new heights!
FAQ
What are the best times of day to use natural light for photography?
The best times for natural light photography are during the golden hour, which occurs shortly after sunrise and before sunset, as the light is soft and warm.
How can I avoid harsh shadows when using natural light?
To avoid harsh shadows, shoot on overcast days or find shaded areas, as diffused light creates a more even illumination.
What techniques can enhance natural light photography?
Utilizing reflectors to bounce light, adjusting your camera settings for proper exposure, and experimenting with angles can significantly enhance your natural light photography.
How does the direction of light affect my photos?
The direction of light can create different moods; front lighting can reduce shadows, while side lighting adds depth and texture, and backlighting can create silhouettes.
Can I use natural light indoors?
Yes, natural light can be effectively used indoors by positioning your subject near windows or doors to capture soft, flattering light.
What are some common mistakes to avoid with natural light photography?
Common mistakes include shooting in direct sunlight without considering shadows, not adjusting camera settings for light variations, and ignoring the background that can distract from the subject.