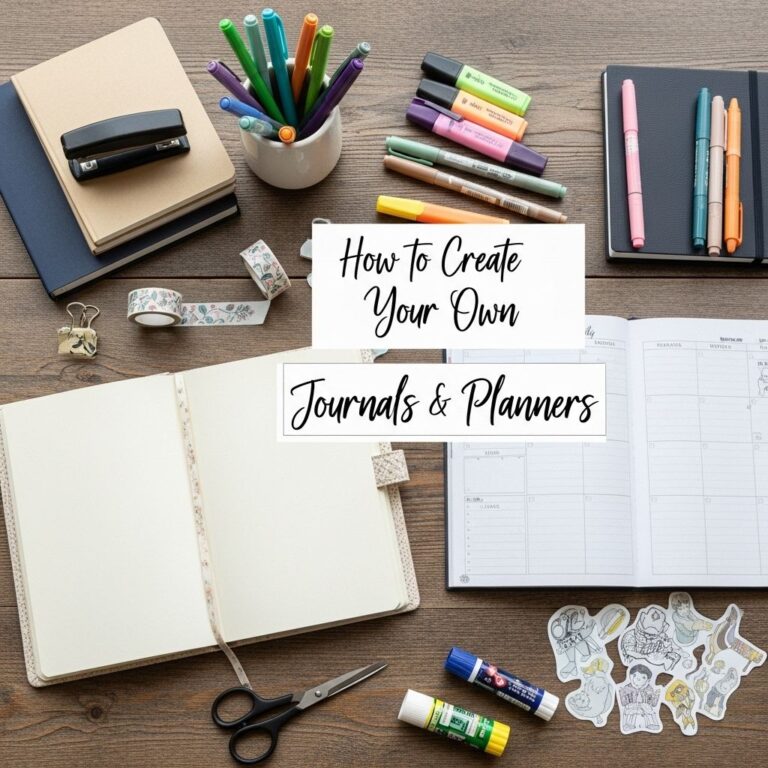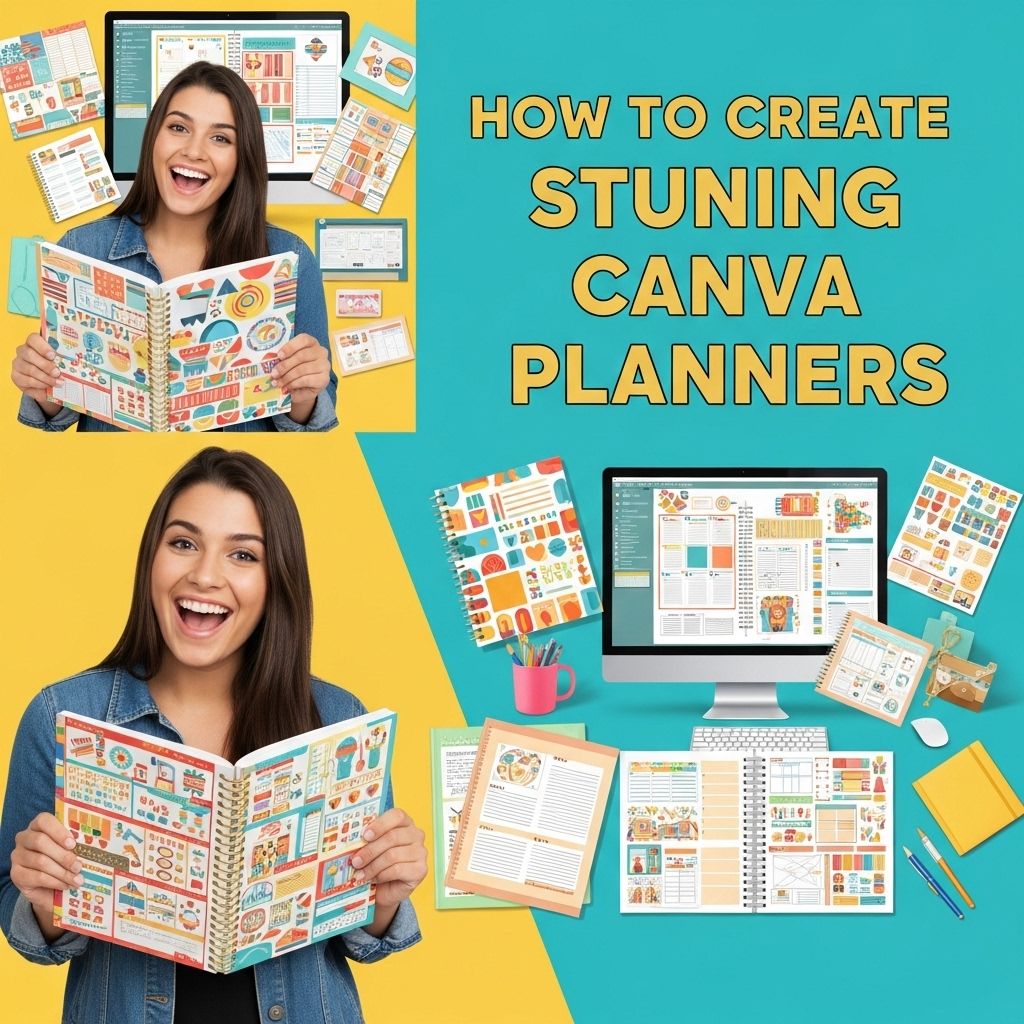
Create stunning planners using Canva, a versatile online design platform that empowers users to create visually appealing documents without the need for advanced design skills. Whether you’re crafting a planner for personal use, for your business, or to share with friends and family, Canva’s user-friendly interface and vast library of templates and design elements make the process enjoyable and efficient. In this article, we will explore step-by-step how to create planners using Canva, including tips, tricks, and best practices to achieve professional-quality results.
Creating stunning planners on Canva has never been easier, allowing you to bring your ideas to life in just minutes. With a variety of customizable templates at your fingertips, you can design planners that perfectly fit your style and needs. To enhance your social media presence, consider checking out these downloadable social media mockups for professional displays.
Table of Contents
Understanding Canva and Its Features
Before diving into the creation process, it’s essential to familiarize yourself with Canva and its features. Canva is a graphic design tool that allows users to create a wide range of visuals, including planners, posters, social media graphics, and more. Here are some key features that make Canva an ideal choice for planner design:
- User-Friendly Interface: Canva’s drag-and-drop functionality allows anyone to create designs easily.
- Extensive Template Library: Access thousands of professionally designed templates tailored for planners.
- Customizable Elements: Modify colors, fonts, images, and layouts to match your style.
- Collaboration Tools: Share designs with team members and gather feedback in real-time.
- Export Options: Download designs in various formats, including PDF, PNG, and JPG.
Getting Started with the Design Process
Step 1: Define Your Planner’s Purpose
Before starting your design, clarify the purpose of your planner. Consider the following:
- Is it a daily, weekly, or monthly planner?
- What specific features do you want to include? (e.g., goals, to-do lists, habit trackers)
- Who is your target audience?
Step 2: Choose the Right Template
Canva offers numerous templates that can serve as a starting point for your planner. To select the perfect template:
- Log in to your Canva account and search for “planners” in the template section.
- Browse through the options, filtering by style and format.
- Once you find a template you like, click on it to open it in the editor.
Customizing Your Planner
Step 3: Modify Layouts and Structure
The first thing to do after selecting a template is to customize its layout. Here’s how:
- Adjust the size of the pages if necessary (e.g., A4, A5).
- Rearrange sections to better suit your needs, adding or removing pages as required.
- Use grids and guides to align elements neatly.
Step 4: Personalize Colors and Fonts
Make your planner stand out by personalizing colors and fonts:
- Utilize Canva’s color palette tool to choose a cohesive color scheme.
- Select fonts that are easy to read yet stylish. Pair contrasting fonts for headings and body text for a more dynamic appearance.
- Maintain consistency in font sizes and styles across the planner.
Incorporating Functional Elements
Step 5: Add Functional Features
A planner should be not only visually appealing but also functional. Consider adding the following elements:
- To-Do Lists: Create sections with checkboxes for daily tasks.
- Calendars: Include monthly or weekly calendar views.
- Goal Setting Pages: Design dedicated pages for goal tracking and reflection.
- Habit Trackers: Use grids to help users monitor their habits effectively.
Step 6: Use Icons and Images
Enhance your planner by incorporating icons and images:
- Search for icons within Canva’s library that correspond to the planner’s content.
- Include relevant images that resonate with your audience. Use high-quality visuals to maintain a professional look.
Finalizing and Exporting Your Planner
Step 7: Review and Edit
Before exporting, thoroughly review your planner:
- Check for typographical errors and ensure all text is legible.
- Make sure all sections are functional and cohesive.
- Consider seeking feedback from peers to catch issues you might have missed.
Step 8: Exporting Your Planner
Once you are satisfied with your design, it’s time to export:
- Click on the “Download” button in the top right corner.
- Select your preferred file type (PDF for print, PNG for digital distribution).
- Download the file to your device.
Tips for Success
Creating stunning planners in Canva is easier with a few additional tips:
- Experiment with different layouts to find what works best for you.
- Keep your audience in mind throughout the design process.
- Regularly update your templates to keep them fresh and relevant.
- Consider creating multiple versions of your planner to cater to different needs.
Conclusion
Creating planners in Canva is a straightforward process that can yield impressive results. By defining the purpose of your planner, choosing the right template, and customizing it with functional elements and a personal touch, you can produce a planner that not only looks great but also serves its intended purpose effectively. Whether for personal productivity or as a product for your business, beautifully designed planners can greatly enhance organization and creativity. Dive into Canva today and unleash your design potential!
FAQ
What is Canva and how can it help in creating planners?
Canva is a graphic design platform that allows users to create stunning visual content, including planners, using customizable templates and a user-friendly interface.
What are the essential elements to include in a planner design?
Essential elements to include in a planner design are a calendar, to-do lists, goal setting sections, and space for notes and reflections.
Can I customize Canva planner templates?
Yes, Canva offers a variety of customizable templates for planners that you can modify with your own colors, fonts, and layouts to suit your style.
Is it possible to print my Canva planner designs?
Absolutely! You can easily download your Canva planner designs in high-quality formats suitable for printing.
What are some tips for designing an effective planner in Canva?
To design an effective planner, keep the layout clean and organized, use visual hierarchy to emphasize important sections, and choose a color scheme that inspires productivity.