In the rapidly evolving digital photography landscape, enhancing your images effectively can set your work apart. Adobe Lightroom has become the go-to tool for photographers who want to refine their pictures not just with basic edits but with creative flair. One of the most powerful features of Lightroom is the ability to create and apply presets, which can save you time and help maintain consistency across your photo collection. Here we dive into some preset ideas that every photographer should experiment with to elevate their editing game.
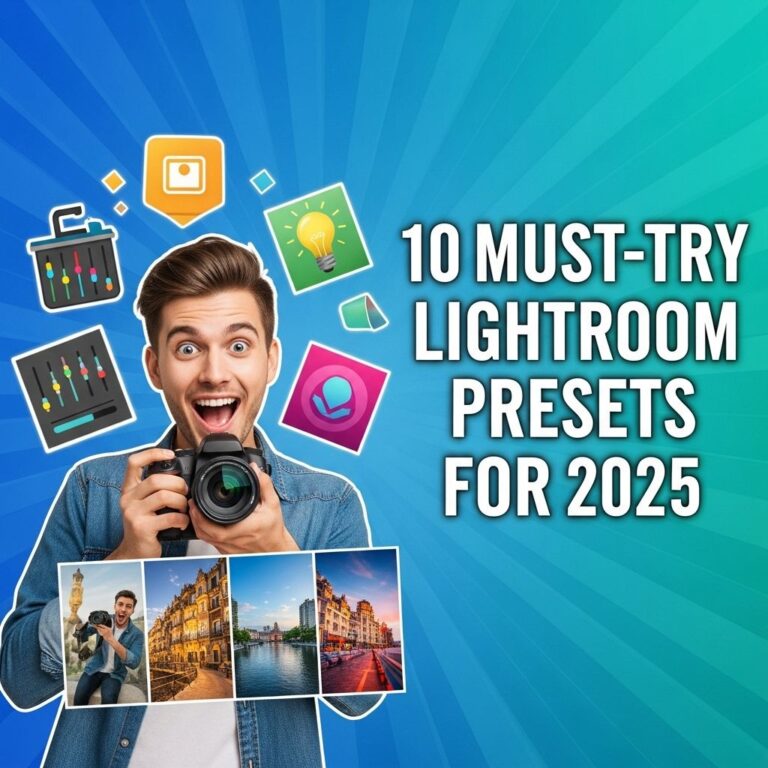
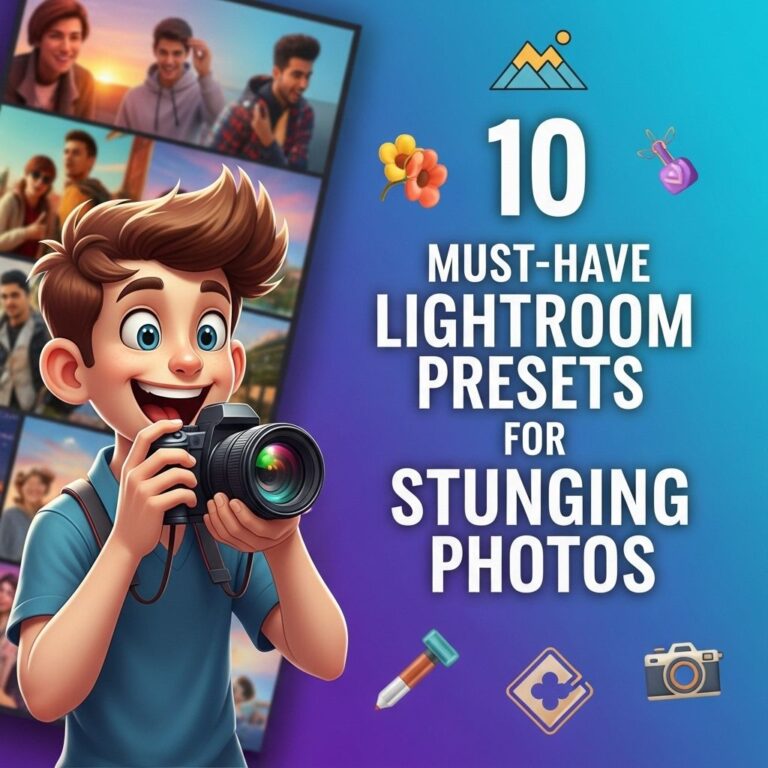
Unlock the full potential of your photography with our curated list of 10 must-try Lightroom presets that promise to elevate your edits. Whether you’re aiming for a classic look or a vibrant aesthetic, these presets can transform your images into stunning visual statements. Dive into a world of creativity, and while you’re at it, check out some inspiring beer label design ideas to complement your photography.
Table of Contents
Understanding Lightroom Presets
Before jumping into ideas, it’s crucial to understand what Lightroom presets are. In essence, a preset is a saved configuration of editing adjustments you can apply to your photos with a single click. These adjustments can include changes in exposure, contrast, color balance, and more.
Benefits of Using Presets
- Speed: Presets allow for quick edits, making them particularly useful for batch processing.
- Consistency: Using the same preset across a series of photos creates a cohesive look for your portfolio.
- Learning Tool: Presets can serve as a learning tool for understanding various editing techniques by observing how they affect images.
10 Creative Lightroom Preset Ideas
Here are ten must-try Lightroom preset ideas that can transform your images:
1. Cinematic Look
This preset mimics the color grading often seen in films, providing a moody and dramatic atmosphere. To create this look:
- Adjust the contrast to enhance shadows.
- Lower the saturation of colors.
- Add a slight blue tint to shadows and an orange tint to highlights.
2. Vintage Film
Recreate the soft, nostalgic feel of vintage photography by following these steps:
- Reduce clarity for a softer image.
- Add grain to simulate film texture.
- Adjust colors to slightly shift towards yellow and red tones.
3. Black and White Classic
A timeless preset, perfect for portraits or street photography:
- Convert your photo to black and white.
- Enhance contrast to bring out highlights.
- Add a vignette effect for emphasis.
4. Soft Pastels
This preset can give your images a dreamy quality:
- Lower the saturation of bright colors.
- Adjust the temperature to the warmer side.
- Increase exposure slightly to brighten the overall image.
5. High Dynamic Range (HDR)
To achieve a vivid and detailed look, consider the following:
- Enhance clarity and vibrance for more impact.
- Adjust highlights and shadows for balance.
- Apply a slight lens correction.
6. Bright and Airy
An excellent choice for lifestyle or wedding photography:
- Increase exposure significantly.
- Enhance white balance to create a soft, sunny feel.
- Reduce contrast to soften shadows.
7. Moody Tones
This preset adds drama and depth, great for landscapes or portraits:
- Lower exposure for a darker image.
- Add a blue tint to shadows and a deep red to highlights.
- Increase clarity to enhance textures.
8. Earthy Tones
Perfect for nature photography, this preset brings out greens and browns:
- Boost saturation on greens and browns.
- Adjust contrast to enhance the image.
- Add a slight warm tint.
9. Neon Glow
This bold preset is perfect for urban photography at night:
- Increase vibrance to make colors pop.
- Add a bit of clarity for sharper lines.
- Increase exposure for a glowing effect.
10. Rustic Charm
Channel the look of rustic, countryside photography with these adjustments:
- Add a warm tone to highlights.
- Reduce clarity for a more subdued feel.
- Add a subtle vignette.
Creating Your Own Presets
While the above ideas are a great starting point, creating your own presets tailored to your unique style is equally valuable. Here’s how you can create a preset:
- Edit a photo to your liking.
- In the Develop module, click the ‘+’ icon in the Presets panel.
- Name your preset and choose settings you want to include.
- Save it and apply it to future photos with ease.
Tips for Effective Preset Creation
- Experiment with various settings to find what resonates.
- Test presets on different images to ensure versatility.
- Group similar presets for easy access.
Conclusion
Lightroom presets are powerful tools that can simplify your workflow, enhance your creativity, and ultimately elevate your photography. By experimenting with the ten ideas outlined above, you can discover new styles and techniques that will make your work stand out. Whether you’re a seasoned professional or an enthusiastic beginner, the right presets can streamline your editing process and give your images the impact they deserve.
FAQ
What are Lightroom presets?
Lightroom presets are pre-defined settings that allow photographers to apply a specific look or style to their photos with a single click, streamlining the editing process.
How can I use Lightroom presets effectively?
To use Lightroom presets effectively, start by choosing presets that match your photography style, apply them to your images, and then make minor adjustments to enhance the final result.
What are some popular types of Lightroom presets?
Some popular types of Lightroom presets include vintage, black and white, moody, bright and airy, cinematic, and pastel styles.
Can I create my own Lightroom presets?
Yes, you can create your own Lightroom presets by editing a photo to your liking and then saving those settings as a preset for future use.
Are there free Lightroom presets available?
Yes, there are many websites and platforms where you can find free Lightroom presets, but make sure to download from reputable sources to ensure quality.
How do I install Lightroom presets?
To install Lightroom presets, download the preset files, open Lightroom, go to the Develop module, and import the presets through the Presets panel.