In the age of social media and digital photography, mastering the basics of photo editing has become essential for everyone, from casual smartphone users to aspiring photographers. With a plethora of editing tools available today, beginners can feel overwhelmed. However, by following a few simple tips, anyone can enhance their photos and unlock their creativity. Here’s a comprehensive guide to get you started!
Table of Contents
Understanding the Basics of Photo Editing
Before diving into editing techniques, it’s important to familiarize yourself with the basic concepts and terminologies in photo editing. Knowing your way around an editing software sets a solid foundation for your skills.
- Exposure: The brightness of the photo.
- Contrast: The difference between the lightest and darkest parts of an image.
- Saturation: The intensity of colors in a photo.
- Hue: The color itself.
- Sharpness: The clarity and detail of the image.
Choosing the Right Software
There are many photo editing software options available, ranging from beginner-friendly to professional-grade tools. Here are a few popular choices:
| Software | Platform | Price | Best For |
|---|---|---|---|
| Adobe Lightroom | Windows, Mac, iOS, Android | $9.99/month | RAW photo editing |
| GIMP | Windows, Mac, Linux | Free | Beginners and advanced users |
| Canva | Web, iOS, Android | Free/$12.95/month | Graphic design and simple edits |
| Snapseed | iOS, Android | Free | Mobile editing |
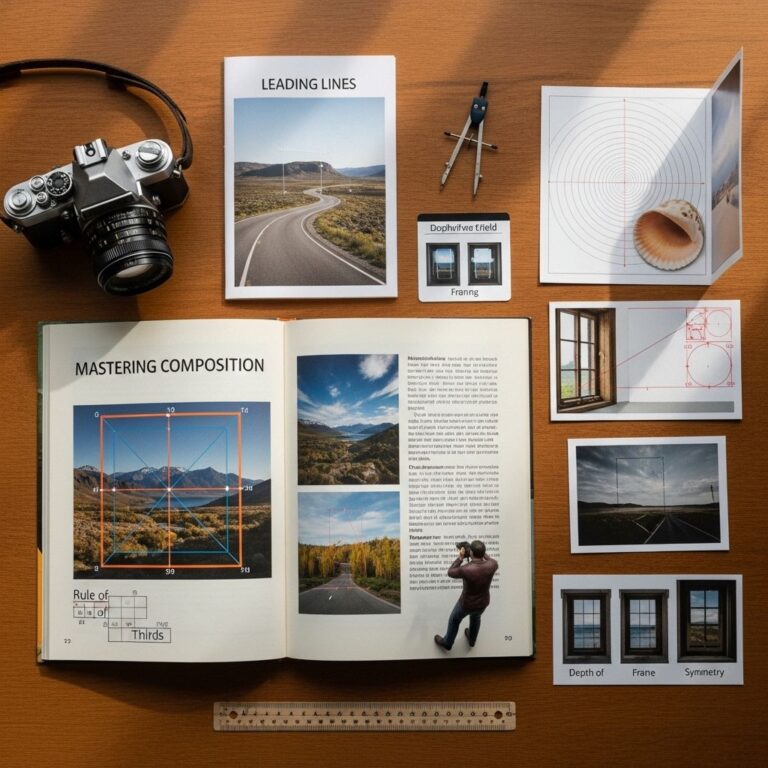
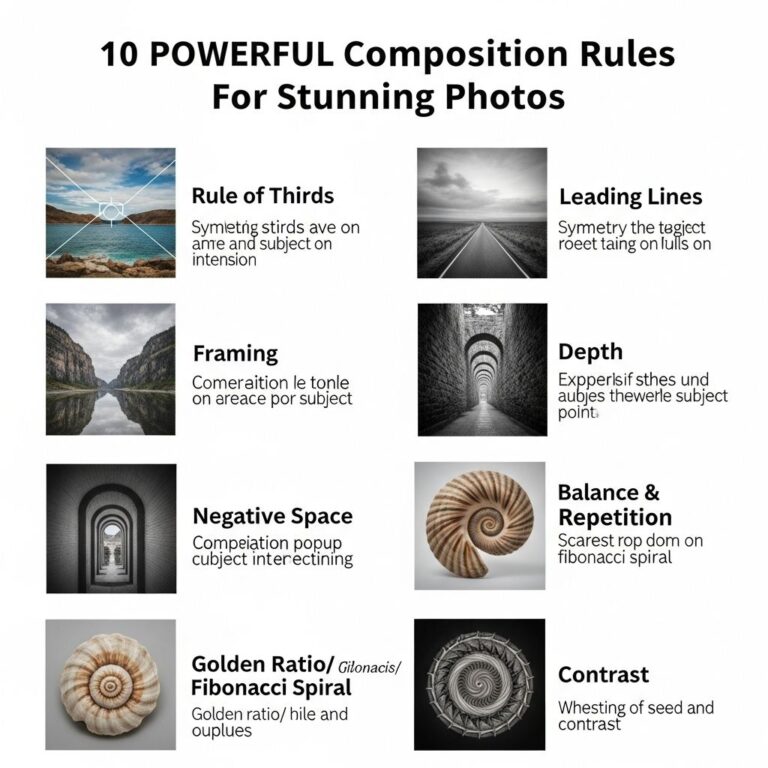
1. Crop for Better Composition
Cropping is one of the simplest ways to improve your photo’s composition. It helps to focus the viewer’s attention on the subject and removes any distracting elements. Here are a few tips:
- Use the rule of thirds: Imagine dividing your image into a 3×3 grid. Place your main subject along the grid lines or at their intersections.
- Don’t be afraid to cut off parts of your subject if it helps with composition.
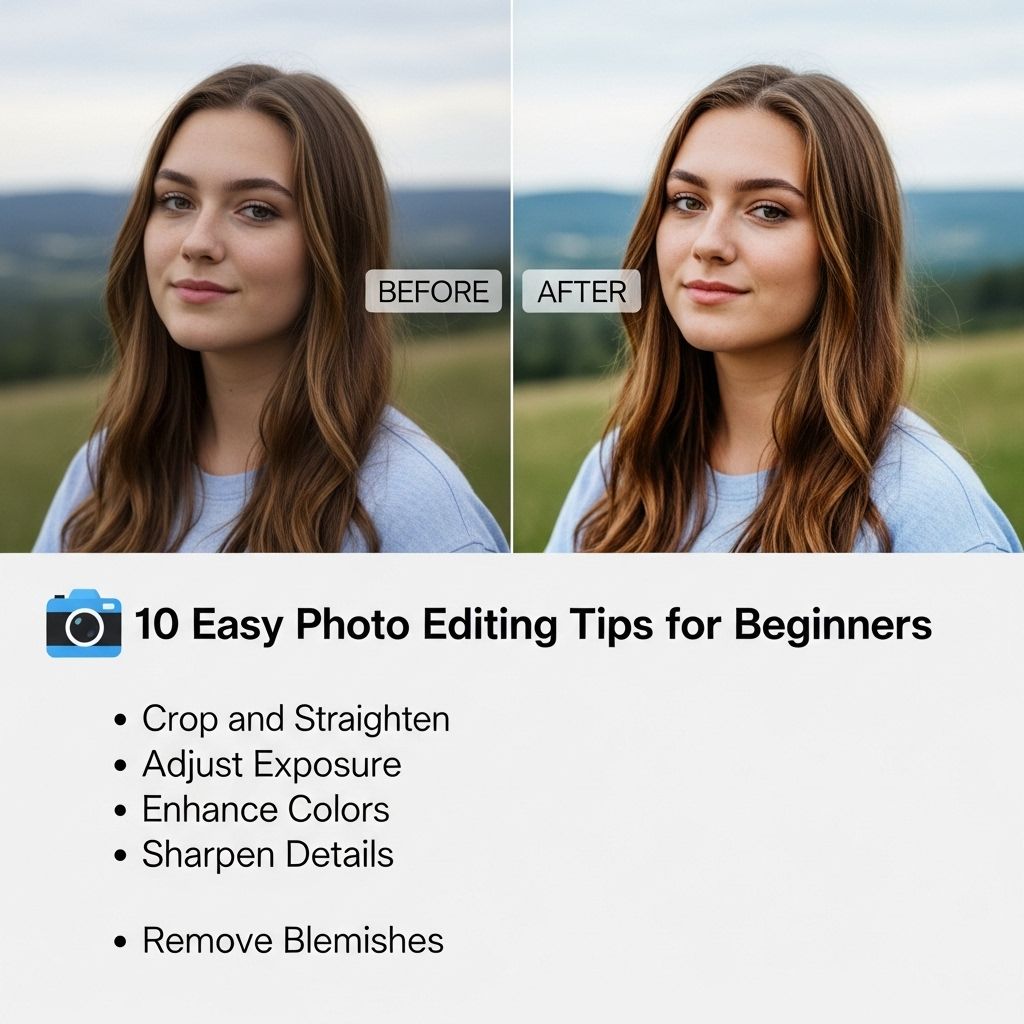
2. Adjust Exposure and Contrast
Proper exposure is crucial to a great photo. Many editing tools offer sliders to adjust exposure, brightness, and contrast easily. Here’s how to do it:
- Increase exposure to brighten the image if it appears too dark.
- Adjust contrast to make your photo pop; enhancing it will make darks darker and lights lighter.
3. Enhance Colors
Vibrant colors can bring life to any image. Here’s how you can enhance colors in your photos:
- Increase saturation: This will amplify the colors in your image.
- Adjust vibrance: Unlike saturation, vibrance enhances only the less saturated colors, preventing skin tones from appearing unnatural.
4. Use Filters Wisely
Filters can dramatically change the look of a photo. However, it’s crucial to use them judiciously to avoid an overly edited appearance. Here are some guidelines:
- Choose a filter that complements the mood of your photo.
- Adjust the intensity of the filter to achieve a more natural look.
5. Sharpen Your Image
Sharpening an image can help to highlight details and give your photos a polished look. However, over-sharpening can create unwanted artifacts:
- Use the sharpening tool in your editing software to enhance details.
- Zoom in to check your sharpening adjustments to ensure you don’t overdo it.
6. Remove Blemishes and Imperfections
Many editing tools offer retouching tools to remove blemishes, spots, or distractions from your photo. Take advantage of these features:
- Use the healing brush to paint over blemishes and blend them in.
- For larger distractions, use the clone tool to copy and replace sections.
7. Create Depth with Shadows and Highlights
Adjusting shadows and highlights can add dimension to your images. Here’s how to do it effectively:
- Increase shadows to bring out details in darker areas.
- Decrease highlights to recover details in brighter areas.
8. Experiment with Black and White
Transforming your color images into black and white can create striking visuals. Here’s how to approach it:
- Adjust contrast to make the blacks deeper and the whites brighter.
- Consider using various tones and shades to enhance texture.
9. Save Your Edits Properly
Once you’re satisfied with your edits, it’s important to save them properly:
- Save a copy of the original file to retain the unedited version.
- Export the edited version in a suitable format (JPEG for sharing online, TIFF for printing).
10. Keep Practicing and Learning
The best way to improve your photo editing skills is to practice regularly. Here are some tips to continue learning:
- Join online photography forums and communities to get feedback.
- Watch tutorial videos and read articles to learn new techniques.
- Experiment with different styles and edits to discover your unique approach.
Conclusion
Photo editing doesn’t have to be daunting. By mastering these ten easy tips, you’ll be well on your way to transforming ordinary images into stunning visuals. Remember, the key is to experiment, have fun, and develop your personal style. Happy editing!
FAQ
What are some basic photo editing tips for beginners?
Start with adjusting brightness and contrast, cropping for composition, and using filters to enhance your images.
How can I improve the colors in my photos?
Use saturation and vibrancy adjustments to enhance colors without making them look unnatural.
What is the importance of cropping in photo editing?
Cropping helps to focus on the subject and improve the overall composition of the photo by removing distracting elements.
Are there any free photo editing tools I can use?
Yes, tools like GIMP, Canva, and Snapseed offer free editing options that are user-friendly for beginners.
How do I remove blemishes or unwanted objects in a photo?
You can use the clone stamp or healing brush tools in most editing software to remove blemishes and distractions.
What file formats are best for saving edited photos?
JPEG is ideal for photographs due to its balance of quality and file size, while PNG is better for images with transparency.