In the age of social media and digital photography, the ability to edit photos like a professional can significantly enhance your visual storytelling. Whether you’re a budding photographer, a social media influencer, or just someone who enjoys sharing memories with friends and family, knowing how to manipulate images can elevate your content. This article will guide you through essential techniques, tools, and tips for editing photos effectively.
Table of Contents
Understanding the Basics of Photo Editing
Before diving into advanced techniques, it’s crucial to have a grasp of basic editing concepts. Here are the fundamental elements of photo editing:
- Exposure: Adjusts the brightness of the image.
- Contrast: Enhances the difference between light and dark areas.
- Saturation: Modifies the intensity of colors.
- Sharpness: Increases the clarity and detail in the image.
- Crop and Straighten: Resizes and aligns the photo.
Choosing the Right Software
A key step in editing photos professionally is selecting the right software. Here are some popular options:
| Software | Platform | Features |
|---|---|---|
| Adobe Photoshop | Windows, Mac | Advanced editing, layers, brushes, and more. |
| Lightroom | Windows, Mac, Mobile | Photo organization, presets, and batch processing. |
| GIMP | Windows, Mac, Linux | Free alternative to Photoshop with robust features. |
| Canva | Web-based | Template-based design with photo editing capabilities. |
Essential Techniques for Professional Photo Editing
1. Cropping and Straightening
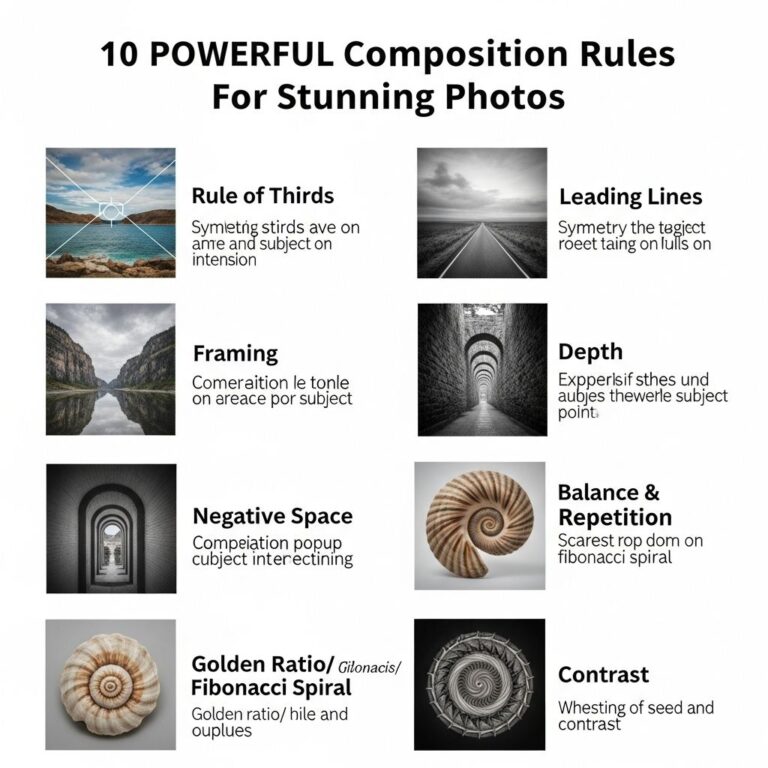
The first step in editing is often cropping the image to improve composition. Consider the rule of thirds, which suggests dividing the image into a 3×3 grid and placing the main subject along the grid lines or intersections. To straighten your photo, use the straightening tool to align the horizon line or other elements that should be horizontal or vertical.
2. Adjusting Exposure and Contrast
Proper exposure is crucial for achieving the desired mood. Use the exposure sliders to brighten or darken your image. Contrast enhances dynamic range; increase it to make your image pop, but avoid excessive adjustments that can lead to loss of detail.
3. Enhancing Colors
To enhance colors, adjust saturation and vibrance. Saturation increases all colors equally, while vibrance selectively boosts muted colors, preserving skin tones. Use color grading techniques to adjust shadows, midtones, and highlights for a more artistic flair.
4. Sharpening and Noise Reduction
Sharpening enhances details, but excessive sharpening can introduce artifacts. Apply sharpening subtly and check at 100% zoom to gauge effectiveness. Conversely, if your photo is grainy (especially in low-light situations), use noise reduction tools to smooth out the image without sacrificing too much detail.
5. Retouching and Cloning
For portraits or product images, retouching is essential. Use the healing brush or clone stamp to remove blemishes or distractions. Be subtle to maintain a natural look; over-retouching can lead to an unnatural appearance.
Using Filters and Presets
Filters and presets can save time while providing a consistent look across your images. However, it’s essential to customize them for each photo. Here are some popular options:
- Lightroom Presets: These can dramatically change the mood of your image in one click.
- Photoshop Filters: Use artistic filters to create a stylized effect.
- Instagram Filters: While limited, these provide quick adjustments for social media posts.
Tips for Consistency in Photo Editing
To maintain a professional appearance across your photos, consider these tips:
- Develop a Style: Identify a unique editing style that reflects your brand or personality.
- Use Consistent Settings: If shooting in RAW, apply consistent settings to similar images.
- Batch Processing: Use batch processing to apply the same edits to multiple images when suitable.
The Importance of Backups
As a photographer, safeguarding your edited images and raw files is essential. Consider the following backup strategies:
- External Hard Drives: Invest in reliable external storage to back up your files.
- Cloud Storage: Use services like Google Drive or Dropbox for secure and accessible backups.
- Redundancy: Keep multiple copies in different locations to prevent data loss.
Final Thoughts
Editing photos like a pro is an art that combines technical skills with creativity. By mastering the basics, choosing the right tools, and developing a consistent style, you can significantly enhance your photography. Remember, the goal of editing is to enhance the story your photo tells; practice regularly, and don’t hesitate to experiment with different techniques to find your unique voice.
FAQ
How can I start editing photos like a pro?
Begin by selecting user-friendly photo editing software such as Adobe Photoshop or Lightroom. Familiarize yourself with basic tools and techniques, and practice regularly to improve your skills.
What are some essential photo editing techniques?
Key techniques include cropping, adjusting brightness and contrast, color correction, sharpening images, and applying filters or effects to enhance the overall look.
Are there any online resources for learning photo editing?
Yes, there are numerous online resources, including tutorials on platforms like YouTube, online courses on websites like Udemy, and blogs dedicated to photography and editing tips.
How important is lighting in photo editing?
Lighting plays a crucial role in photo editing. Properly adjusting exposure and shadows can significantly enhance the quality and mood of your images.
What are some common mistakes to avoid in photo editing?
Common mistakes include over-editing, neglecting the importance of composition, and failing to save editable versions of your work. Always aim for a natural look.
Can I edit photos on my smartphone?
Absolutely! Many mobile apps, such as Snapseed, VSCO, and Adobe Lightroom Mobile, offer powerful editing tools that can help you achieve professional-looking results right from your smartphone.


