In today’s fast-paced digital world, effective scheduling is crucial for maximizing productivity and minimizing wasted time. With remote work becoming the norm, tools like Calendly and Zoom have emerged as indispensable assets for professionals looking to streamline their meeting processes. This article delves into how to effectively use Calendly and Zoom in tandem, ensuring that your virtual meetings are efficient, organized, and straightforward.
Mastering tools like Calendly and Zoom can significantly enhance your meeting efficiency. By streamlining scheduling and improving virtual communication, you can focus more on productive discussions rather than logistical hassles. For those looking to draw attention to your presentations, consider exploring realistic bag mockup examples that can help elevate your visual materials.
Table of Contents
Understanding Calendly and Zoom
Before diving into the best practices for using these tools together, it’s essential to understand what each platform offers:
What is Calendly?
Calendly is a scheduling tool designed to eliminate the back-and-forth of booking meetings. Users can set their availability preferences, share their Calendly links with others, and allow invitees to book time slots that work for everyone. Some key features include:
- Customizable meeting types
- Time zone detection
- Integration with calendars (Google, Outlook, etc.)
- Automated reminders for participants
What is Zoom?
Zoom is a video conferencing platform that allows users to host and join virtual meetings, webinars, and online events. With features that accommodate both small and large groups, Zoom is widely used for business and educational purposes. Some notable features include:
- HD video and audio quality
- Screen sharing capabilities
- Meeting recording options
- Virtual backgrounds
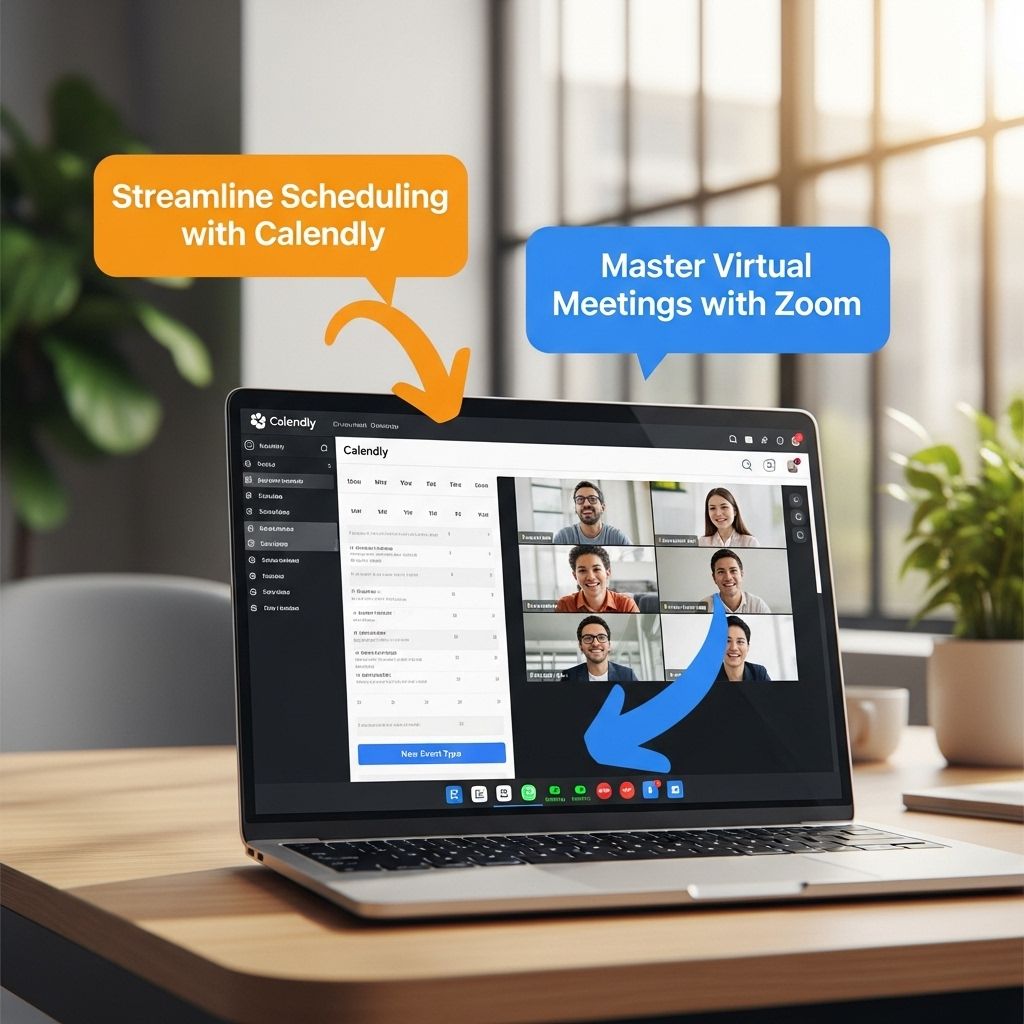
Integrating Calendly with Zoom
The integration of Calendly with Zoom provides a seamless experience for scheduling and conducting virtual meetings. Here’s how to set it up:
Step-by-Step Integration
- Log in to your Calendly account.
- Go to the Integrations page from the main dashboard.
- Find Zoom in the list of integrations and click on it.
- Follow the prompts to authorize the integration by signing into your Zoom account.
- Once authorized, you can choose to add Zoom links automatically to your Calendly meetings.
Benefits of Integration
Integrating Calendly with Zoom offers several advantages:
- Automated Zoom links: Every meeting scheduled through Calendly will automatically generate a unique Zoom link for participants.
- Increased professionalism: Sending a Zoom link along with your meeting invitation enhances the professionalism of your communications.
- Efficient reminders: Calendly will send reminders to attendees, reducing no-shows and last-minute cancellations.
Best Practices for Scheduling Meetings
To ensure that your meetings are effective, consider the following best practices when using Calendly and Zoom:
Determine the Right Meeting Length
Properly assessing the duration of your meetings is crucial. Here’s a quick guide:
| Meeting Type | Suggested Duration |
|---|---|
| Quick Check-in | 15-30 minutes |
| Team Meeting | 30-60 minutes |
| Client Consultation | 30-45 minutes |
| Project Kickoff | 60-90 minutes |
Use Descriptive Meeting Titles
Clear and concise meeting titles help participants understand the objective. For example:
- “Weekly Sales Sync”
- “Project X Brainstorming Session”
- “Monthly Marketing Review”
Select Appropriate Availability
When setting your availability in Calendly:
- Consider your peak productivity times and block time outside of these hours for breaks.
- Ensure your availability aligns with clients’ and team members’ schedules to optimize participation.
During the Meeting: Leveraging Zoom Features
Once your meeting is scheduled, utilizing Zoom’s features can enhance the experience:
Screen Sharing
Screen sharing allows you to present documents, slides, or demos effectively. Always prepare your materials beforehand to ensure smooth transitions.
Recording Meetings
Recording allows you to revisit discussions and share them with absentees. Ensure participants are aware of the recording before starting.
Using Breakout Rooms
If you have larger meetings, Zoom’s breakout rooms can facilitate smaller group discussions. This can enhance engagement and foster collaboration.
Post-Meeting Follow-up
After the meeting, it’s essential to maintain momentum. Here are ways to do that:
Send a Follow-up Email
An effective follow-up email can include:
- Meeting summary
- Action items with assigned responsibilities
- Links to recorded meetings, if applicable
Gather Feedback
Understanding participants’ perspectives can help you improve future meetings. Consider using tools like Google Forms to collect feedback on meeting content and effectiveness.
Conclusion
By effectively integrating Calendly and Zoom, professionals can streamline their scheduling and enhance collaboration. Embracing these tools will not only save time but also foster a more productive and organized work environment. The effective use of technology in the workplace can bridge gaps created by remote work, ensuring communication remains seamless and efficient.
FAQ
How do I integrate Calendly with Zoom?
To integrate Calendly with Zoom, go to your Calendly account settings, select ‘Integrations’, and choose Zoom. Follow the prompts to connect your Zoom account.
What are the benefits of using Calendly with Zoom?
Using Calendly with Zoom allows you to automate meeting scheduling, ensures that all invitees receive the correct Zoom link, and helps avoid scheduling conflicts.
Can I customize my Zoom meeting settings in Calendly?
Yes, you can customize your Zoom meeting settings in Calendly by setting the duration, choosing specific meeting types, and adding any necessary instructions for attendees.
How do I send reminders for Zoom meetings scheduled through Calendly?
You can set up automated reminders in Calendly by going to the event type settings and configuring the email and SMS reminder options for your scheduled Zoom meetings.
Is there a limit to the number of Zoom meetings I can schedule with Calendly?
There is no limit to the number of Zoom meetings you can schedule with Calendly, but your free plan may have restrictions on certain features.
How can I reschedule a Zoom meeting created through Calendly?
To reschedule a Zoom meeting created through Calendly, access your Calendly dashboard, find the event, and select the ‘Reschedule’ option to choose a new date and time.